Deploy
Installation
Edited
Installing RoomDesign Ceiling
Clean in-ceiling installation with a single PoE+ cable for power, audio, and control.
Before you begin
Make sure the room is ready:
Ceiling access is available
A PoE+ network connection is available at the speaker location
The supplied cutout template, or the ceiling tile mount accessory, is on hand
Having these ready avoids delays once installation starts.

Installation steps
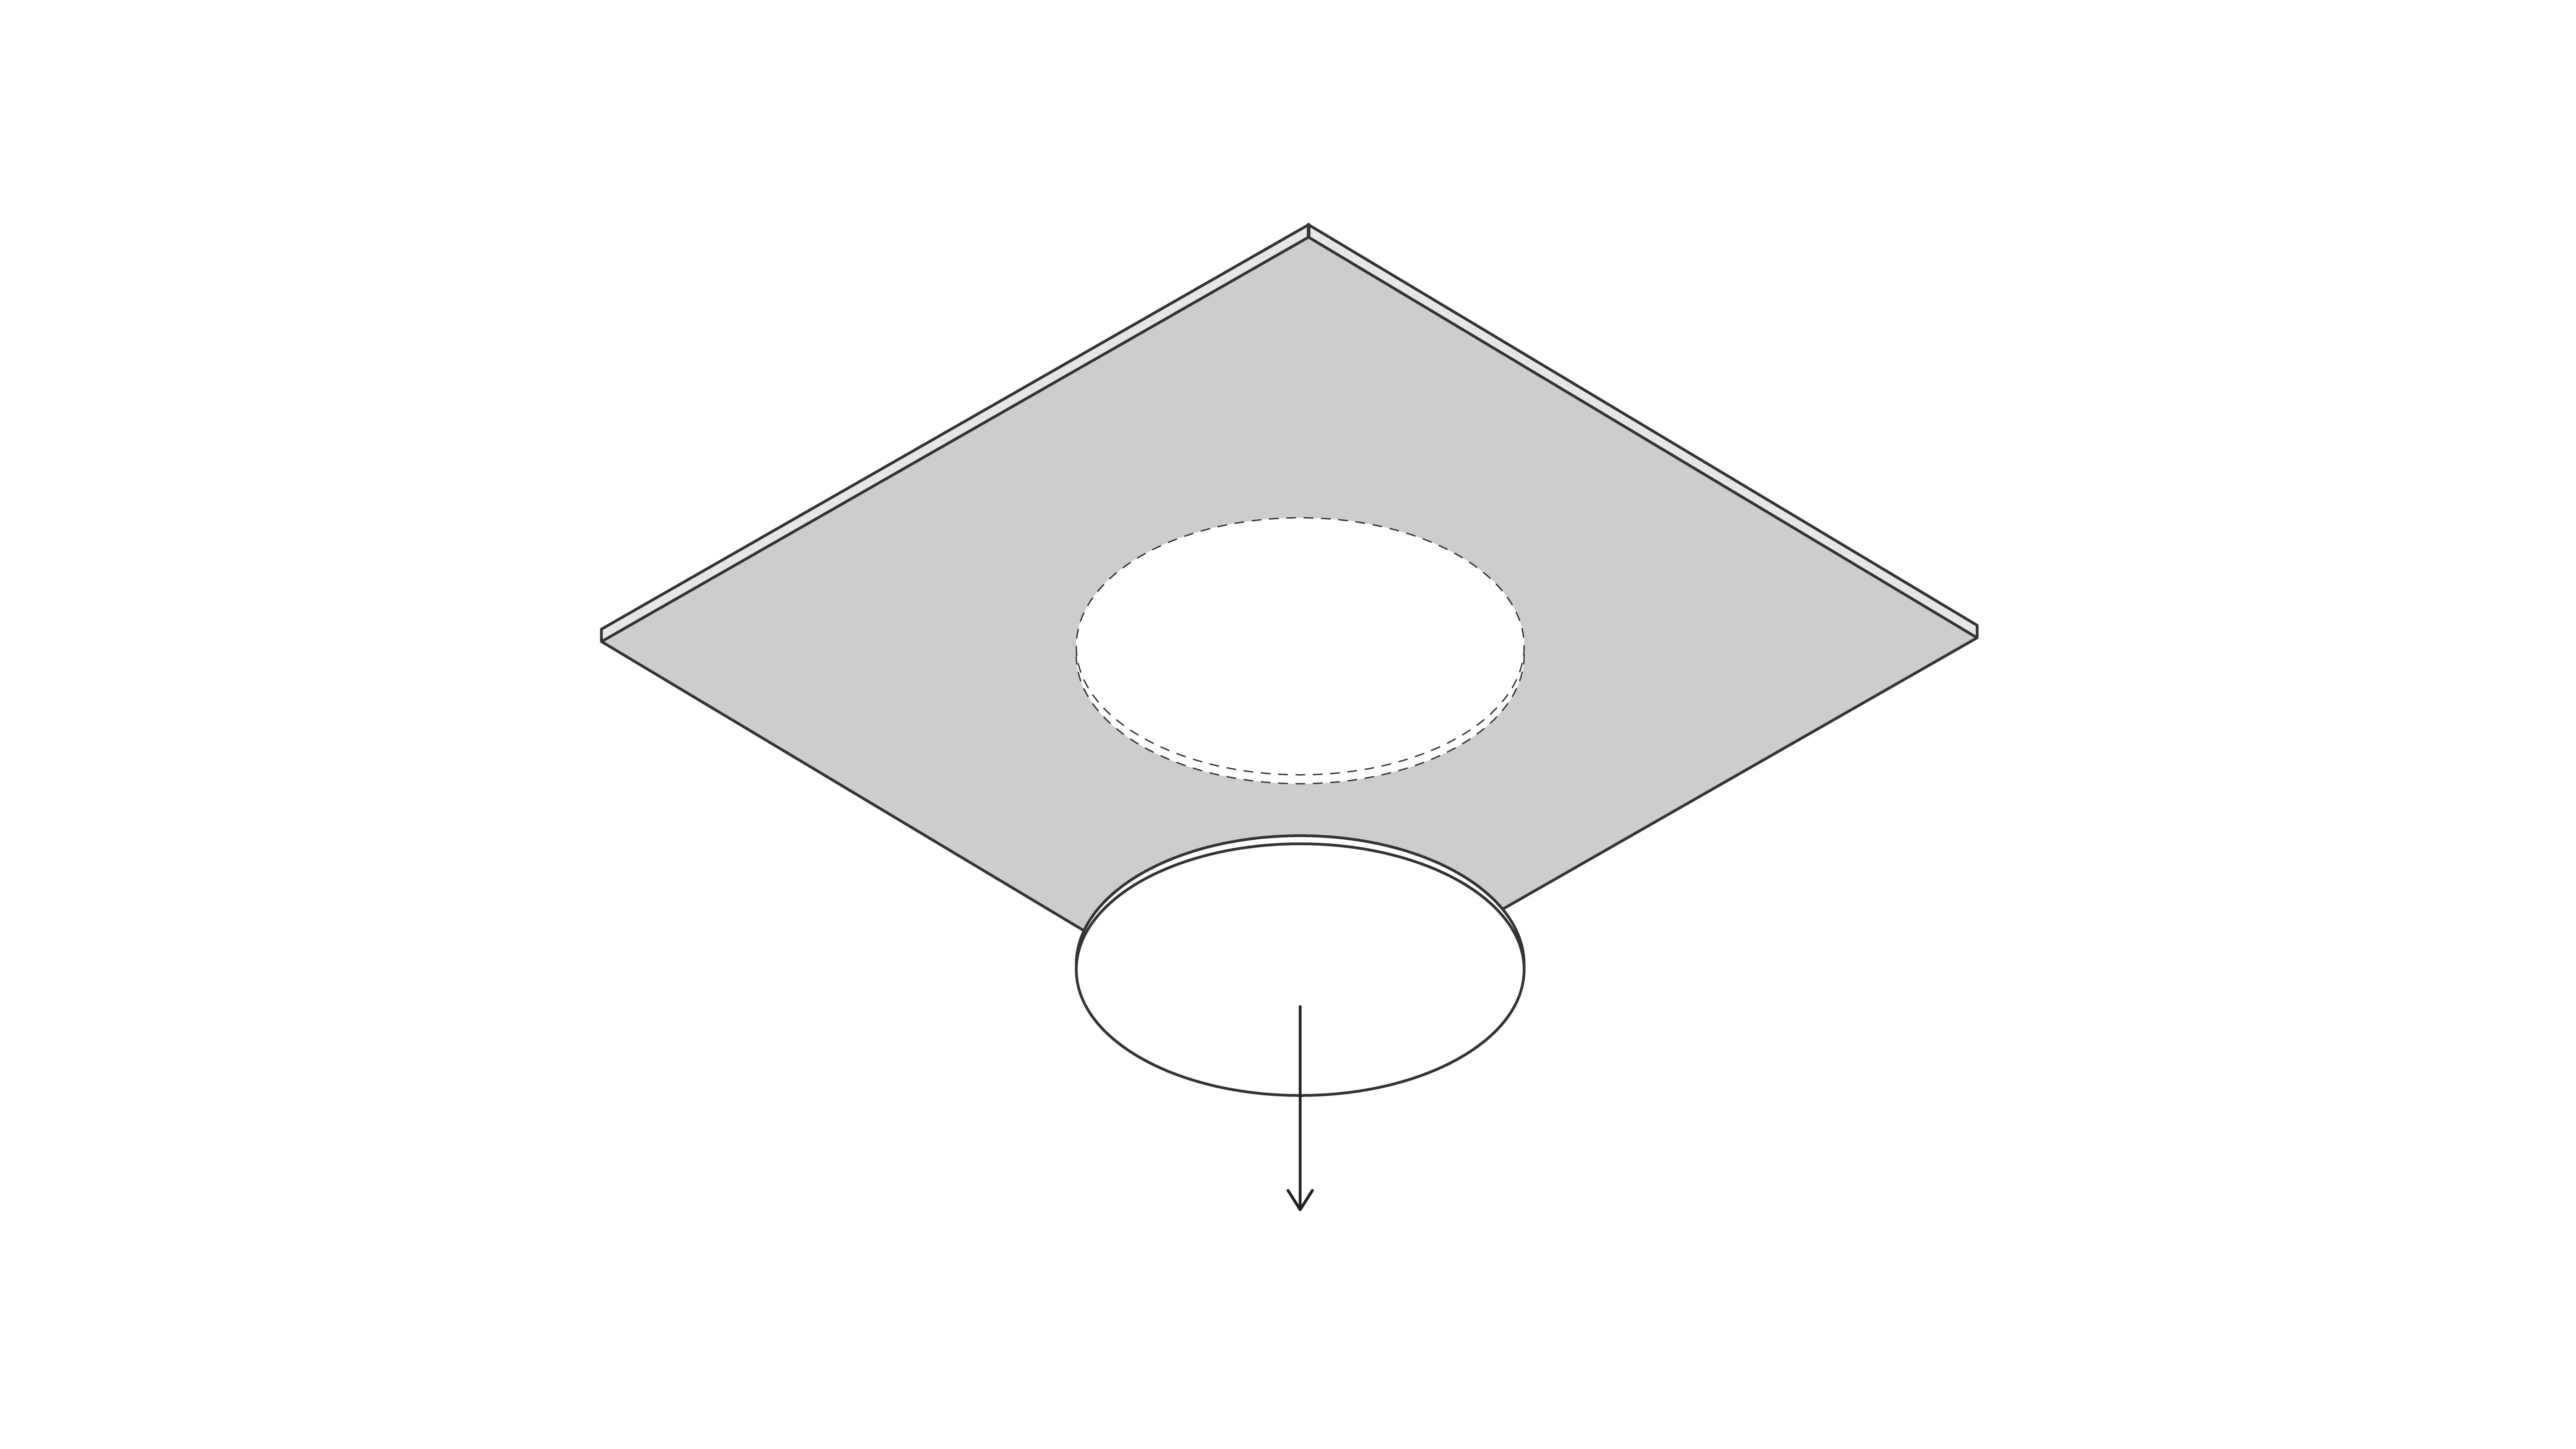
1. Prepare the ceiling
RoomDesign Ceiling is designed for in-ceiling installation.
Use the supplied cutout template to mark the opening
Cut the ceiling opening to match the template
Tip: for standard 600 × 600 mm ceiling tiles, use the ceiling tile mount accessory. It installs without cutting the tile, keeping the process faster and cleaner.
2. Connect the speaker
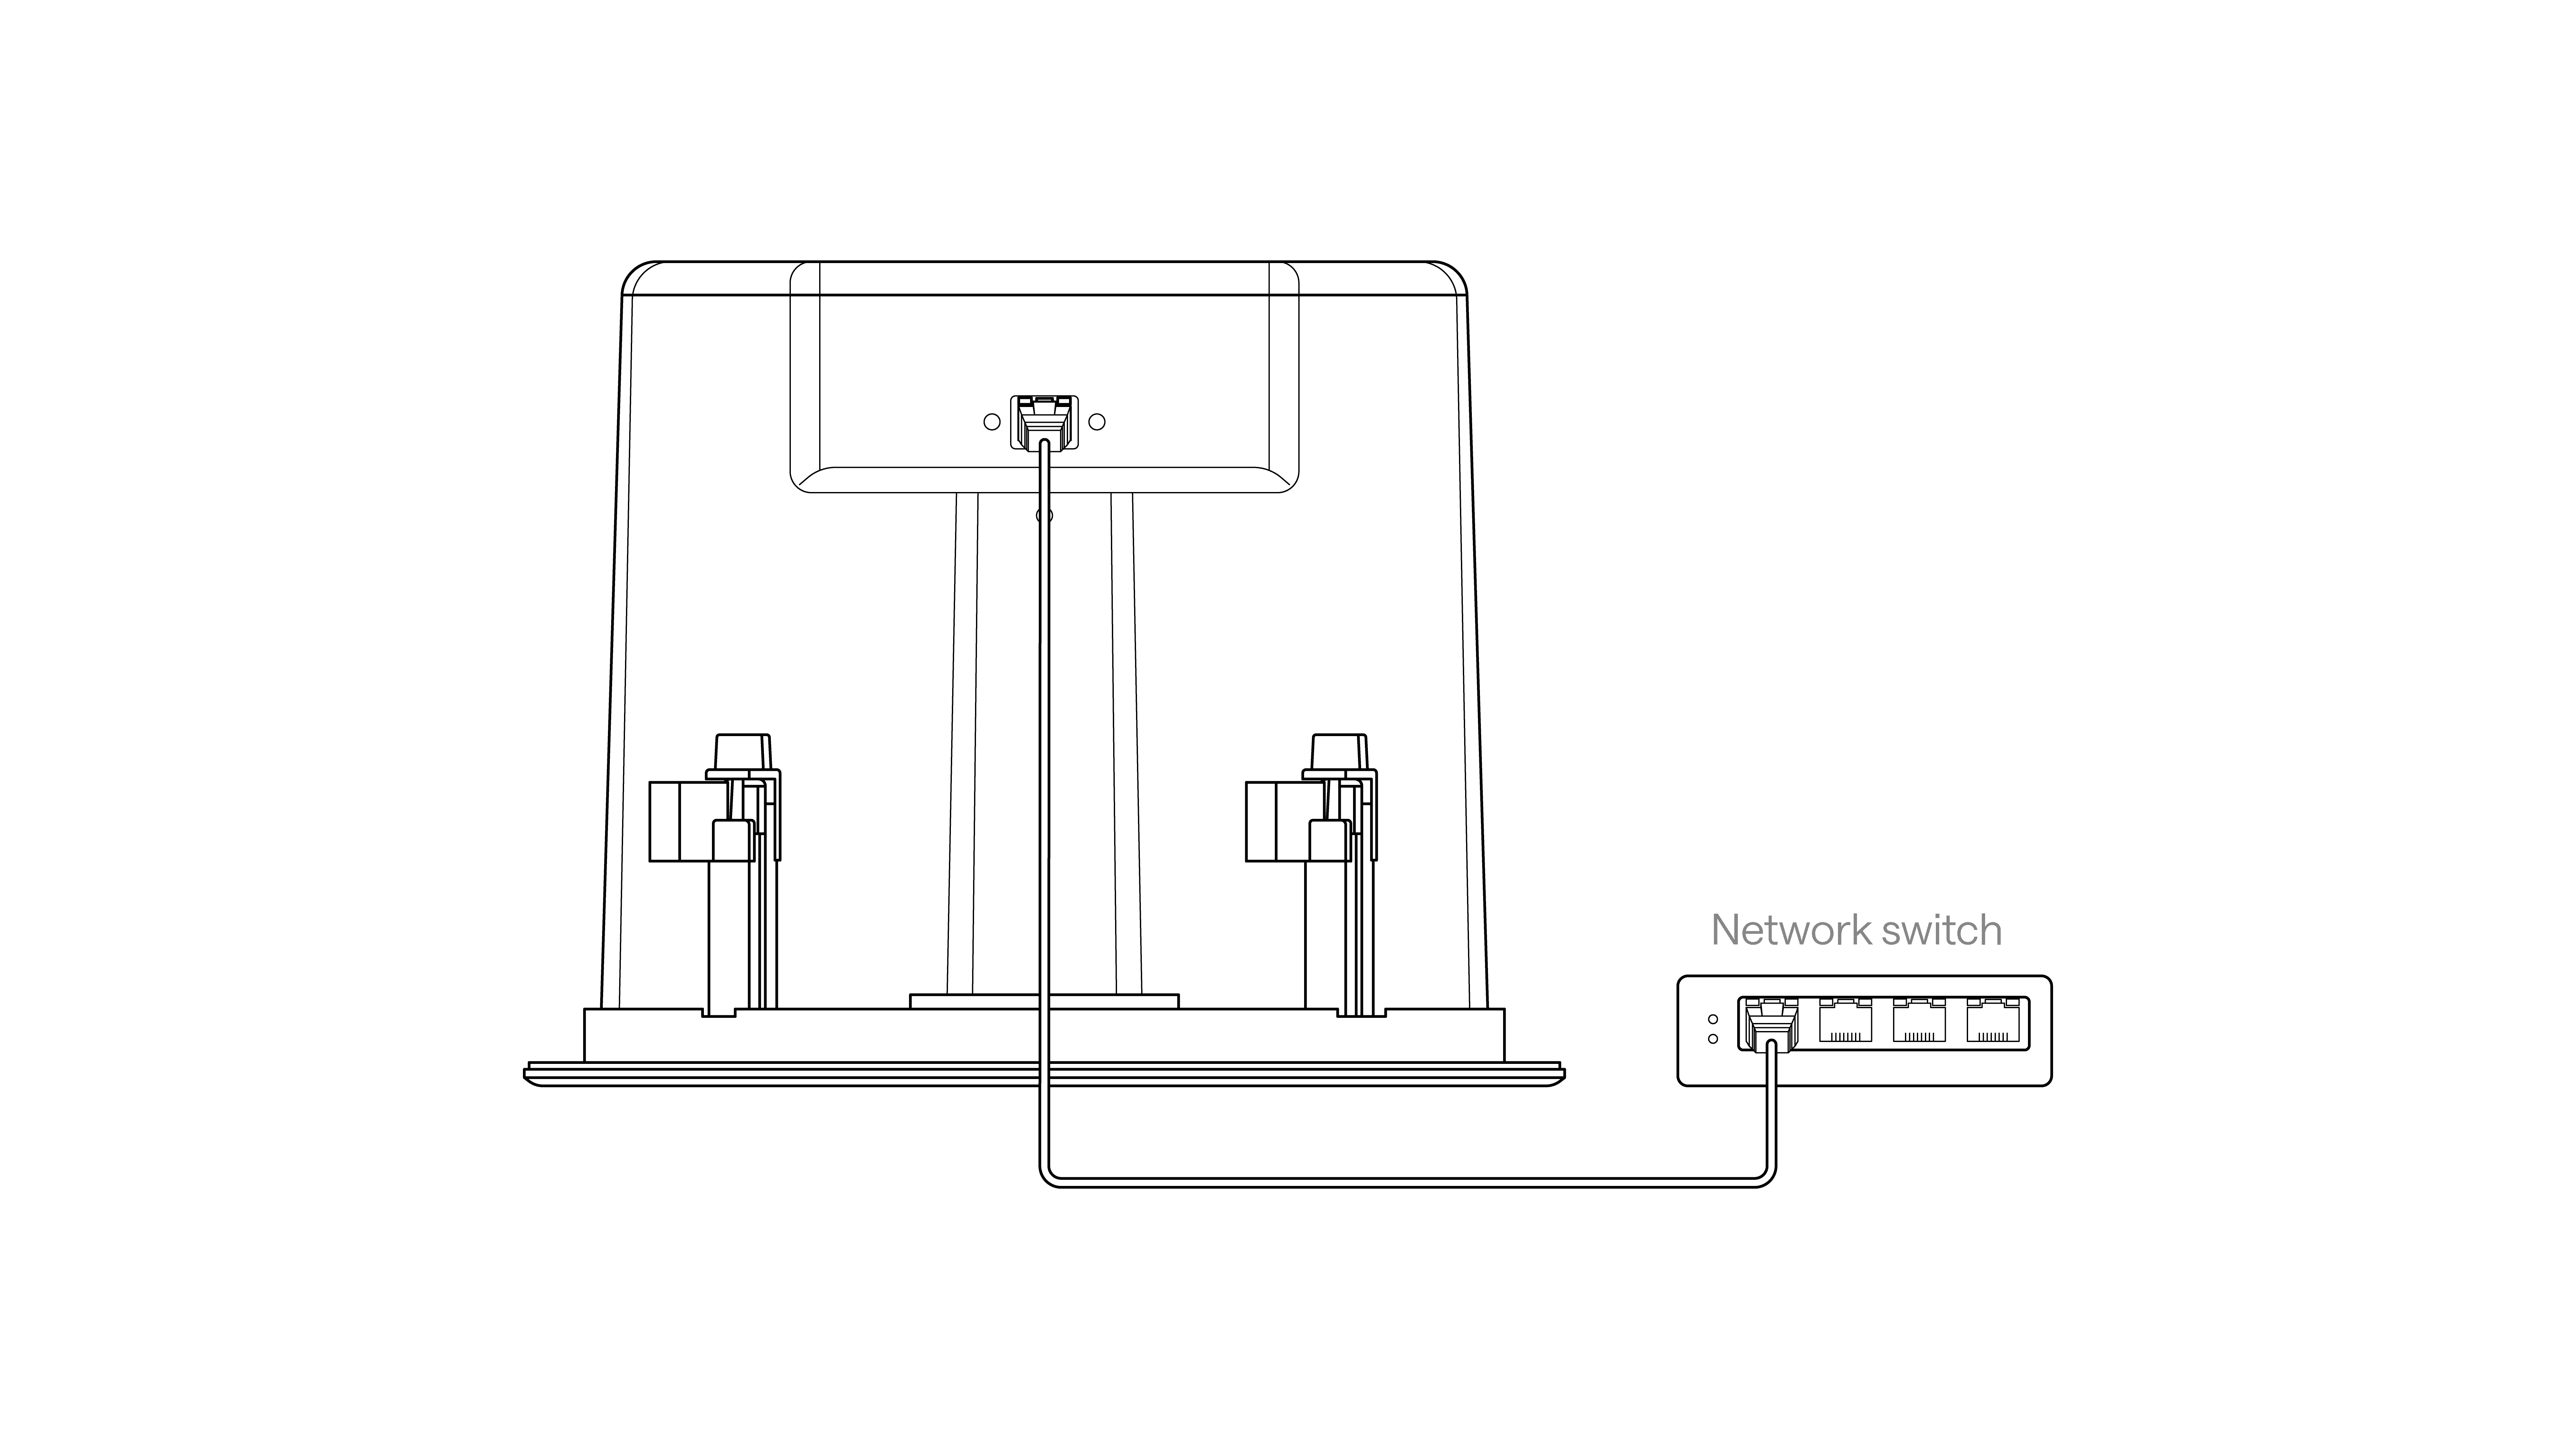
RoomDesign Ceiling uses a single network cable:
Connect a network cable to the speaker's LAN port
Plug the other end into a PoE+ network switch
Power, audio, and control all run over this one connection.
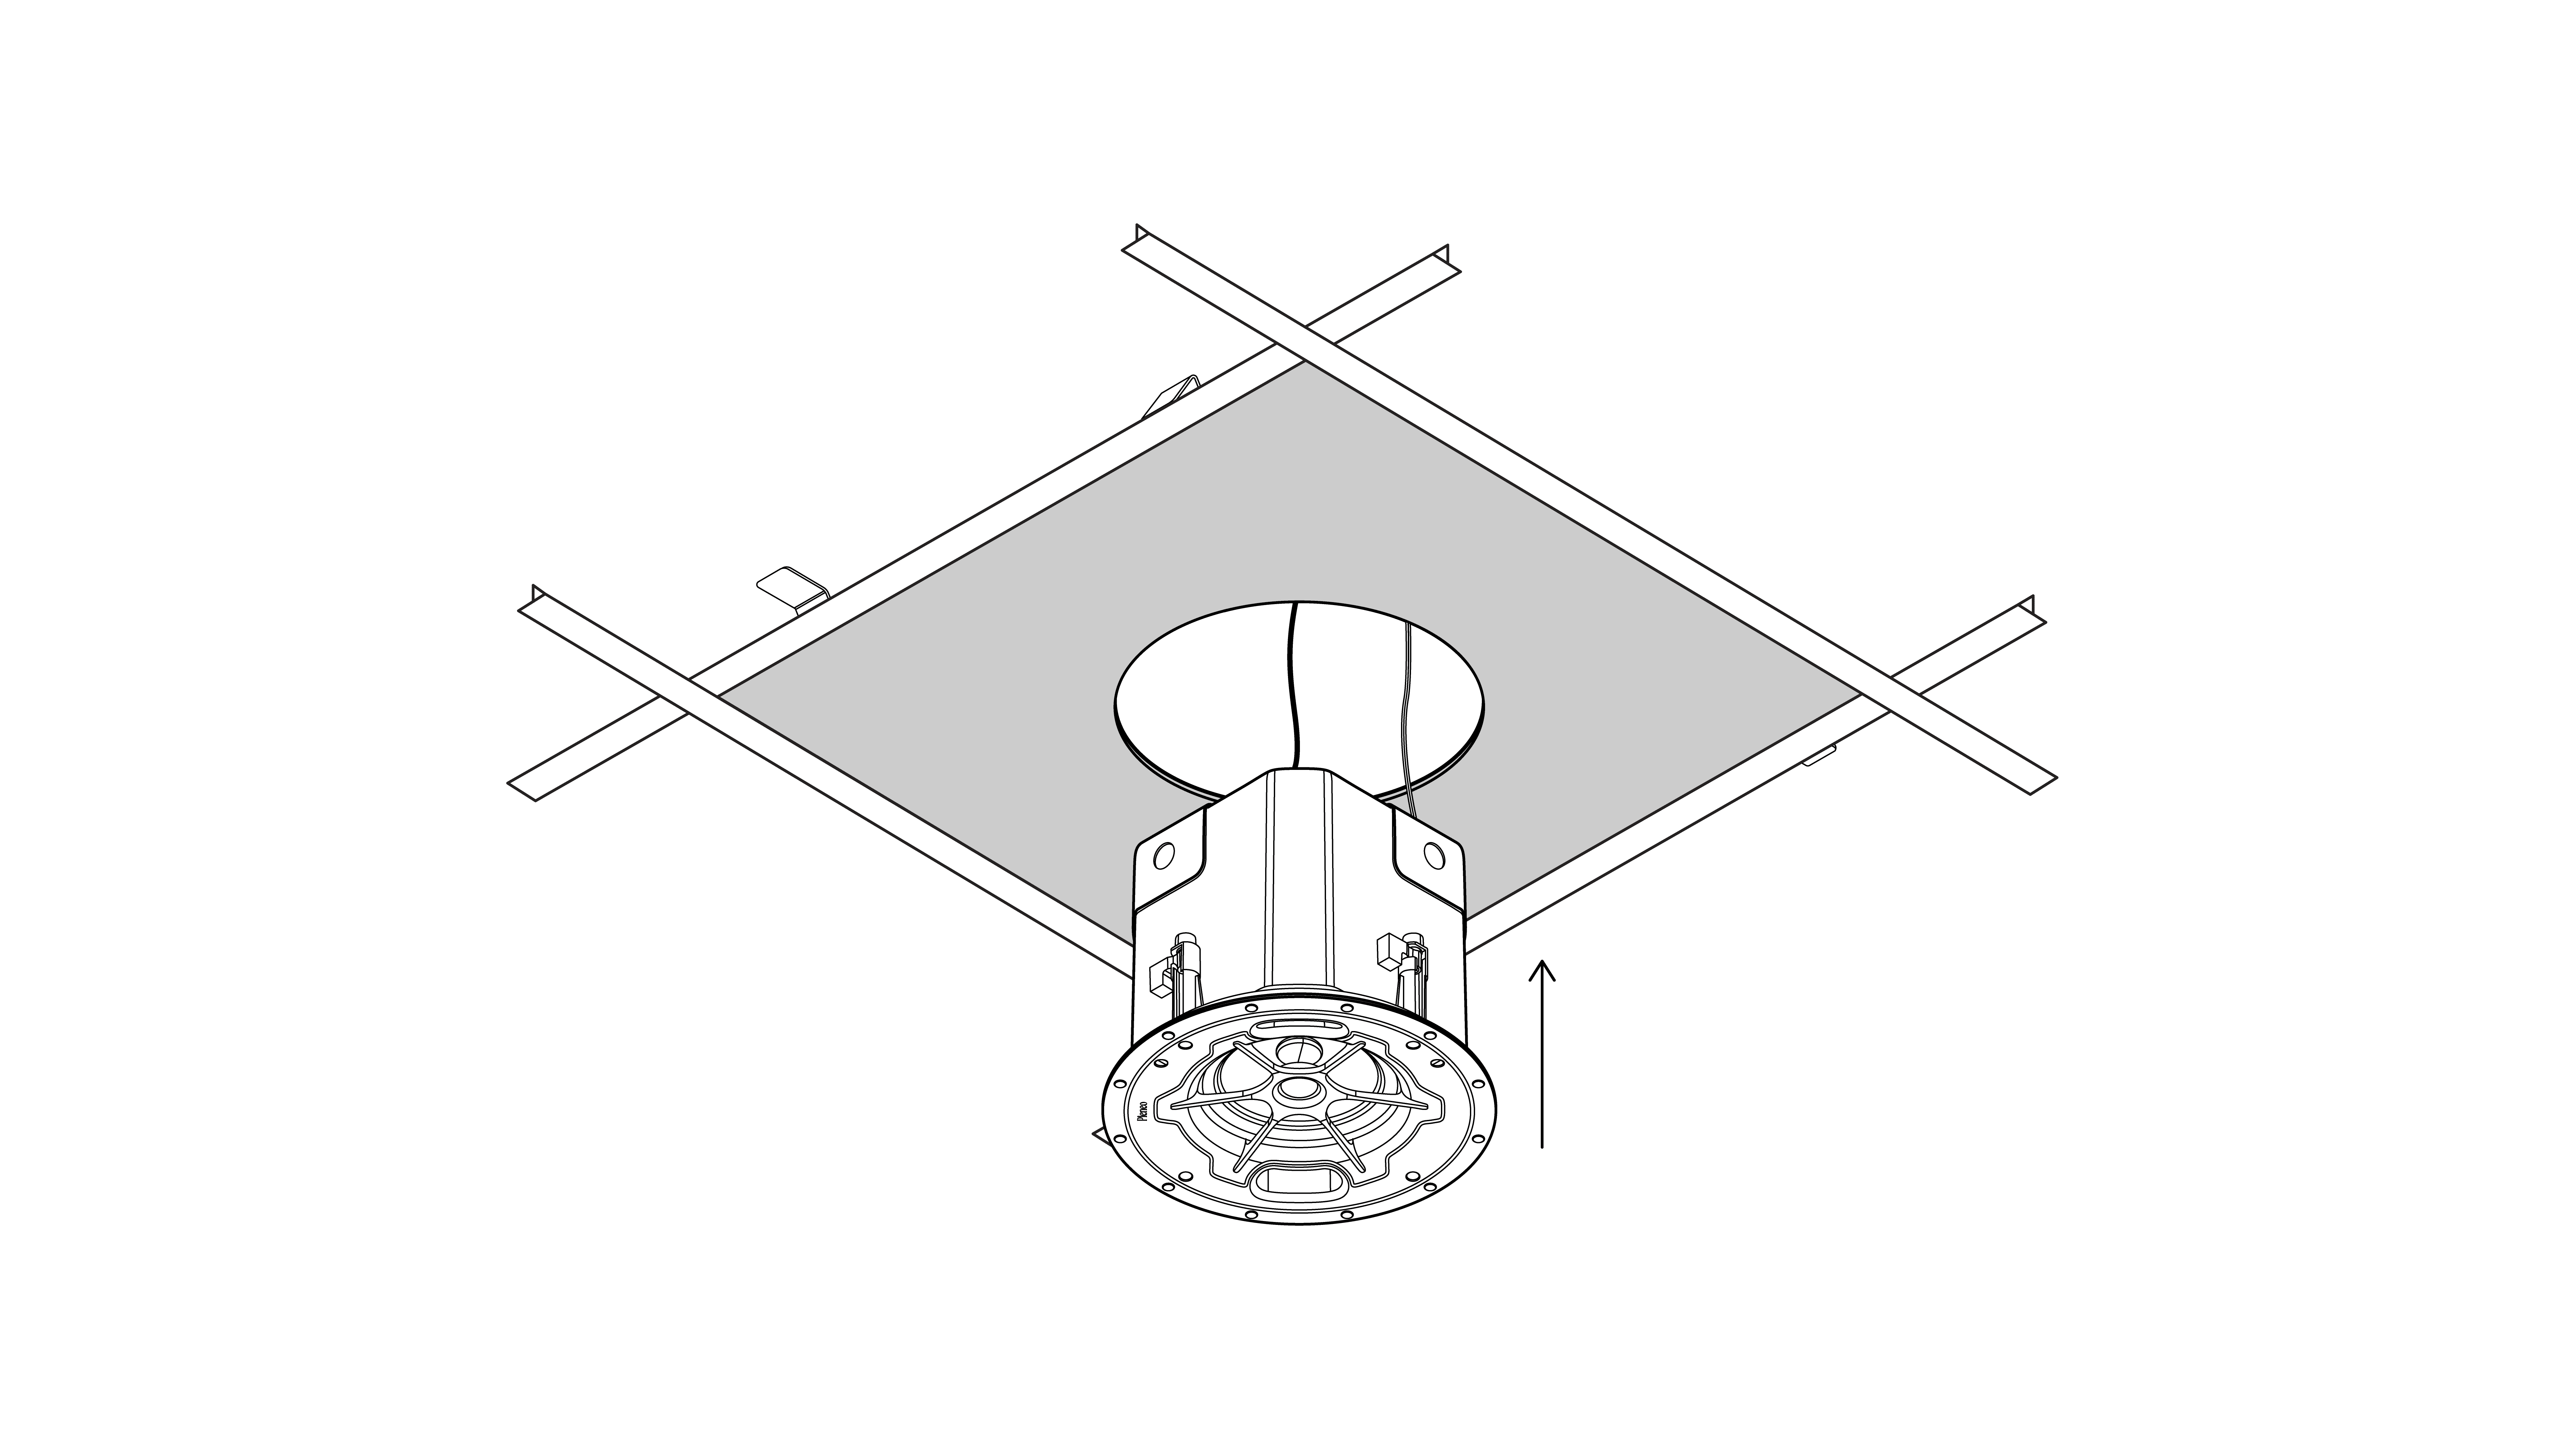
3. Mount the speaker
Insert the speaker back-first into the ceiling opening
Tighten the mounting screws evenly
The integrated clamps hold the speaker firmly and pull it flush with the ceiling.
Installation complete
RoomDesign Ceiling is now installed and ready for use.
To finish setting up the room, continue with the Local Deployment guide.
In summary
Clean in-ceiling mounting
Optional tile mount for faster installs
Single PoE+ cable for power, audio, and control
Suitable for single rooms or large rollouts