Deploy
Deploying Rooms
Edited
Local Deployment
Set up a Pleneo Room on-site through RoomHub's built-in web interface.
Before you begin
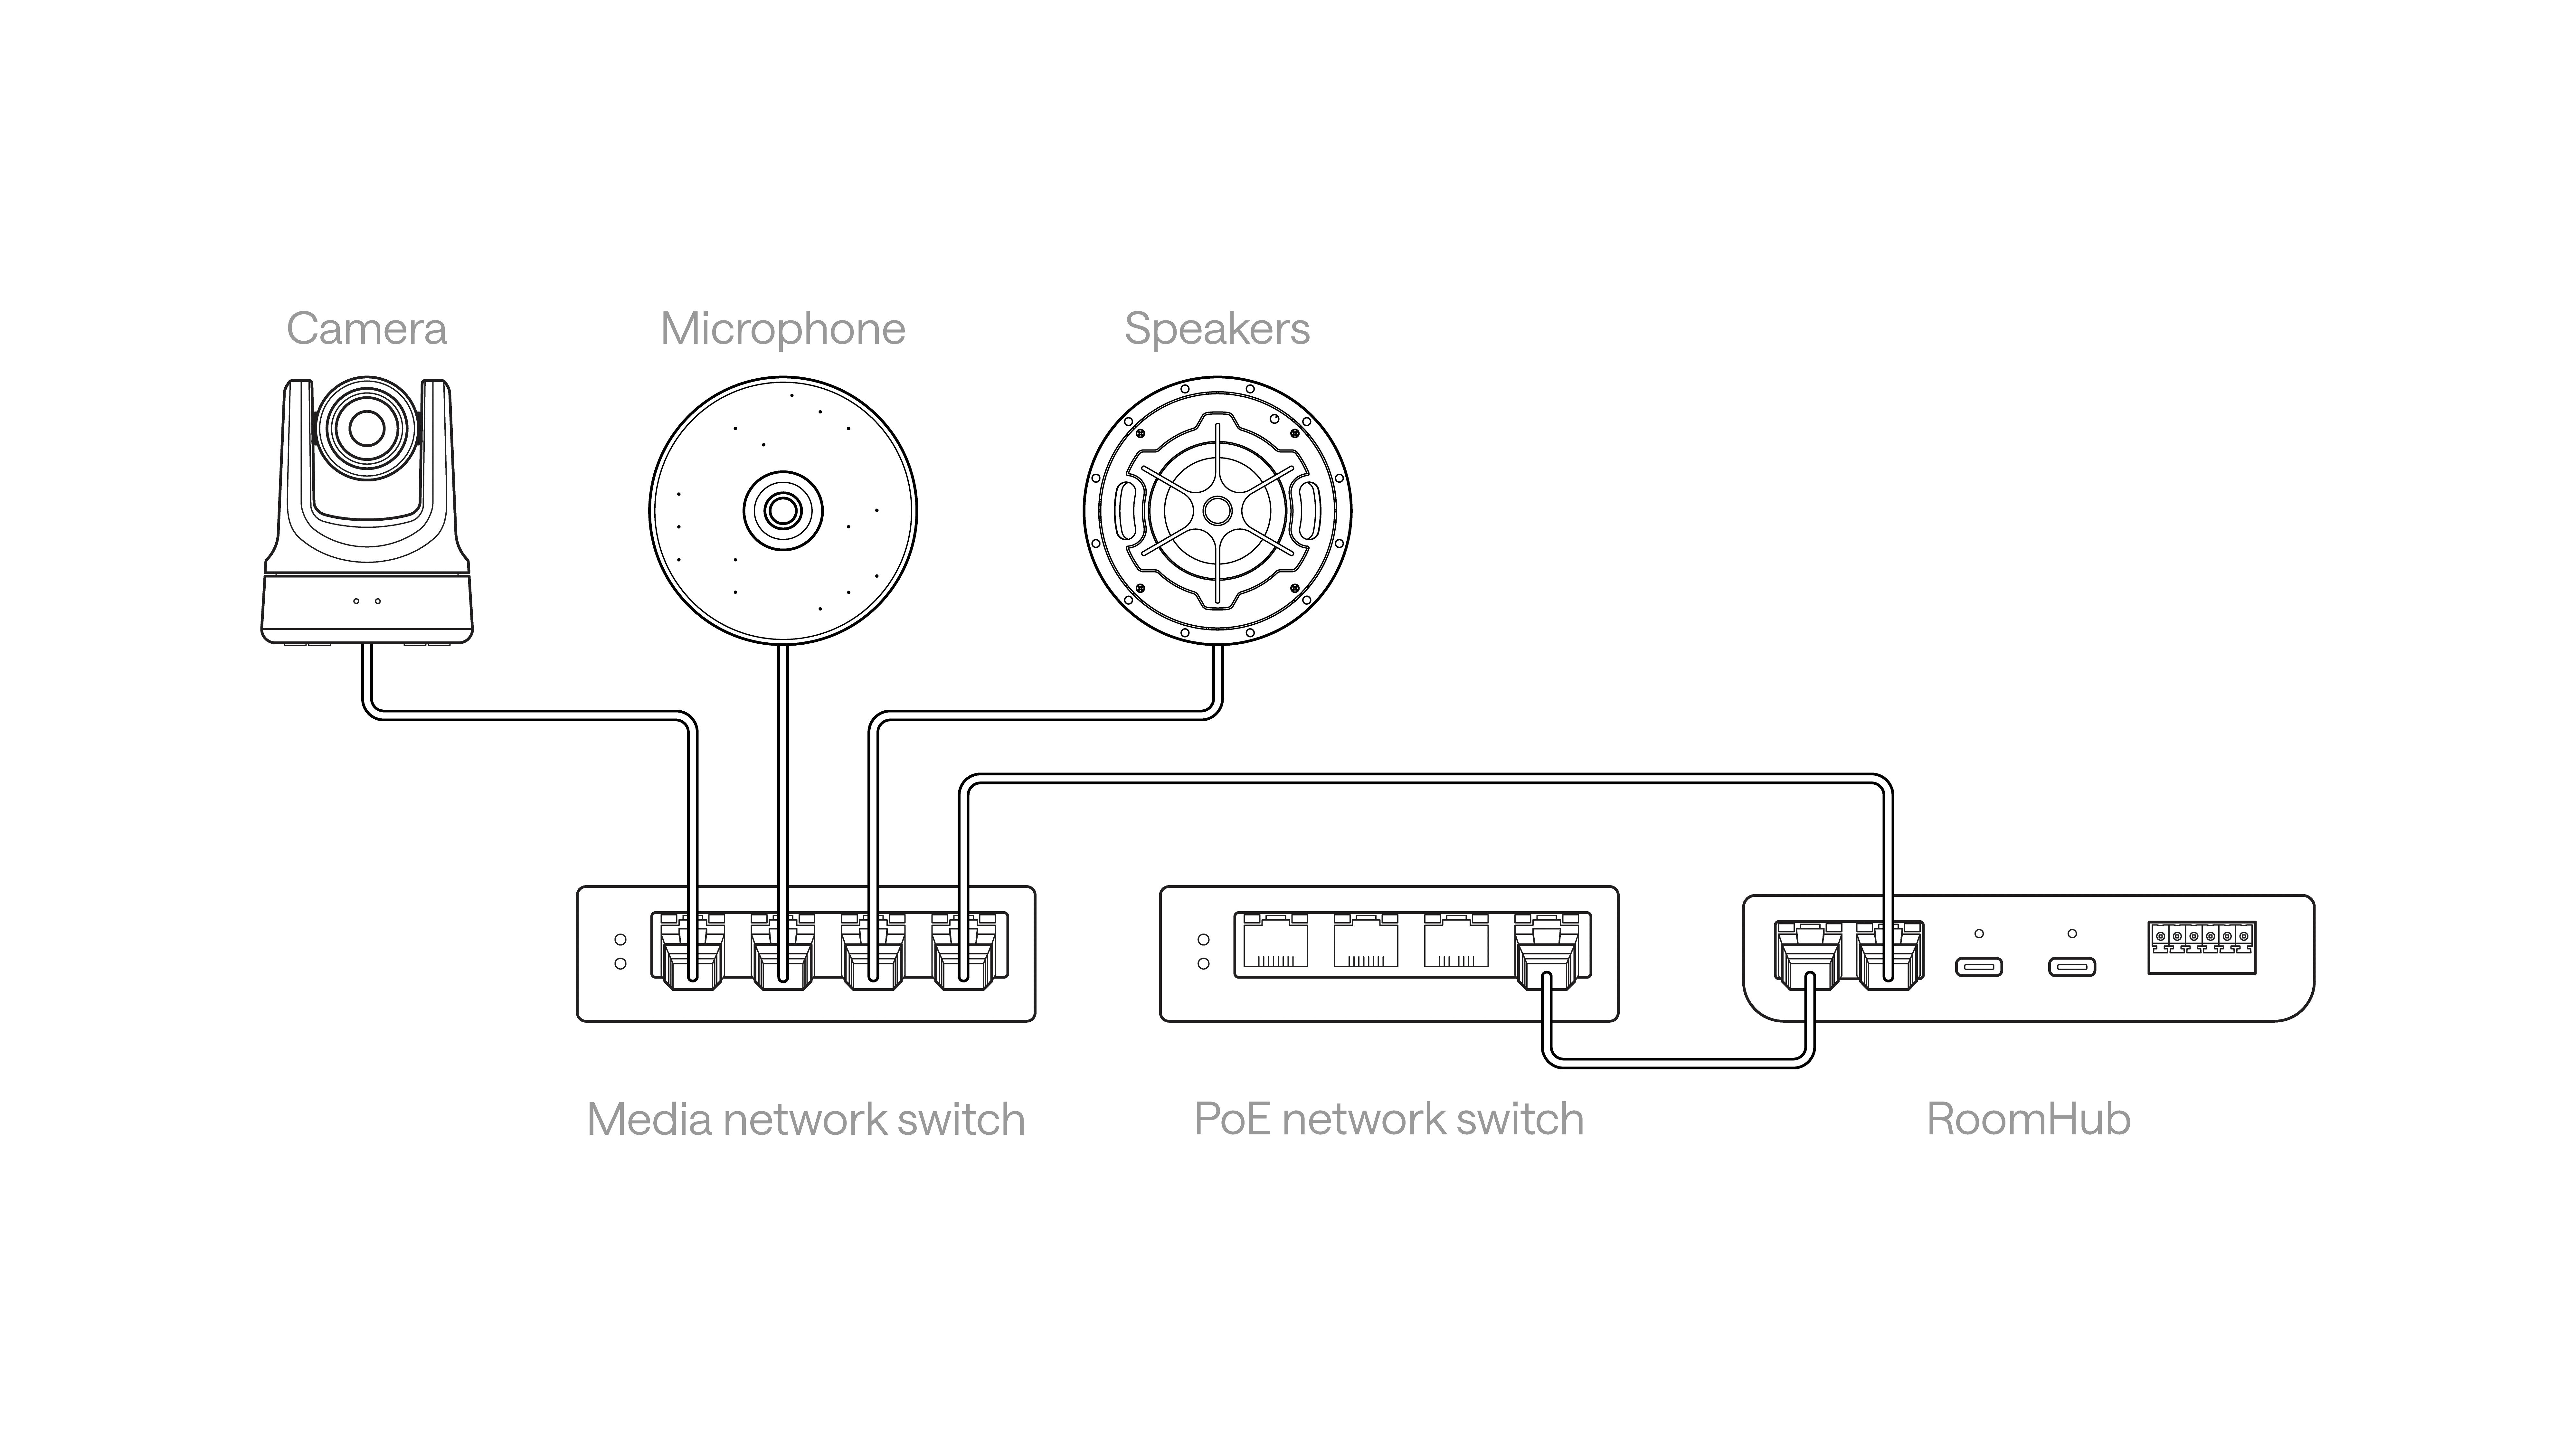
Make sure everything is physically connected:
Connect speakers, microphones, and cameras to your network switch
Connect RoomHub's LAN 1 and LAN 2 to the switch (LAN 1 provides PoE)
A DHCP server is recommended but not required; see "No DHCP server?" below if your network doesn't have one
Open the RoomHub web interface in your browser, either by hostname (roomhub-[last 6 digits of the MAC address], for example roomhub-ff0010) or by the IP address, which you can find through a Bluetooth scan or a USB-C connection to your laptop
No DHCP server? RoomHub doesn't need one. Without DHCP, RoomHub and its connected devices fall back to link-local addressing (169.254.x.x) and work normally; discovery, assignment, and tuning all function as usual. Your laptop takes a link-local address the same way, so you reach RoomHub by hostname or via Bluetooth or USB-C exactly as above, and deploy the room as you would on any network.

Initial setup
With the network connections active, complete the basic setup:
Download and update firmware
Create a password
Name the room
You're now ready to build the system.
Adding devices
Add speakers
Select Add Speaker
Choose the speaker model (for example, RoomDesign Ceiling) and select Add Speaker
RoomHub scans the network and lists the available speakers. Select the units you want to include
Add a microphone
Select Add Microphone, then choose the microphone in your room
RoomHub scans the network and detects the microphone. Select it to add it to the system
If you're using a Sennheiser ceiling microphone, enable third-party control in the manufacturer's software first. See Enabling third-party access for Sennheiser TCCM in Control Cockpit.
Add a camera
Select Add Camera, then choose your camera model
RoomHub scans the network and detects the camera. Select it to add it to the system
Your system is now defined.

Using RoomKits (optional)
If you're deploying a Pleneo Express RoomKit, setup is faster. When you select a RoomKit, RoomHub knows which devices belong together, scans for all the required products at once, and adds them in a single workflow.
Running AI AutoDeploy™
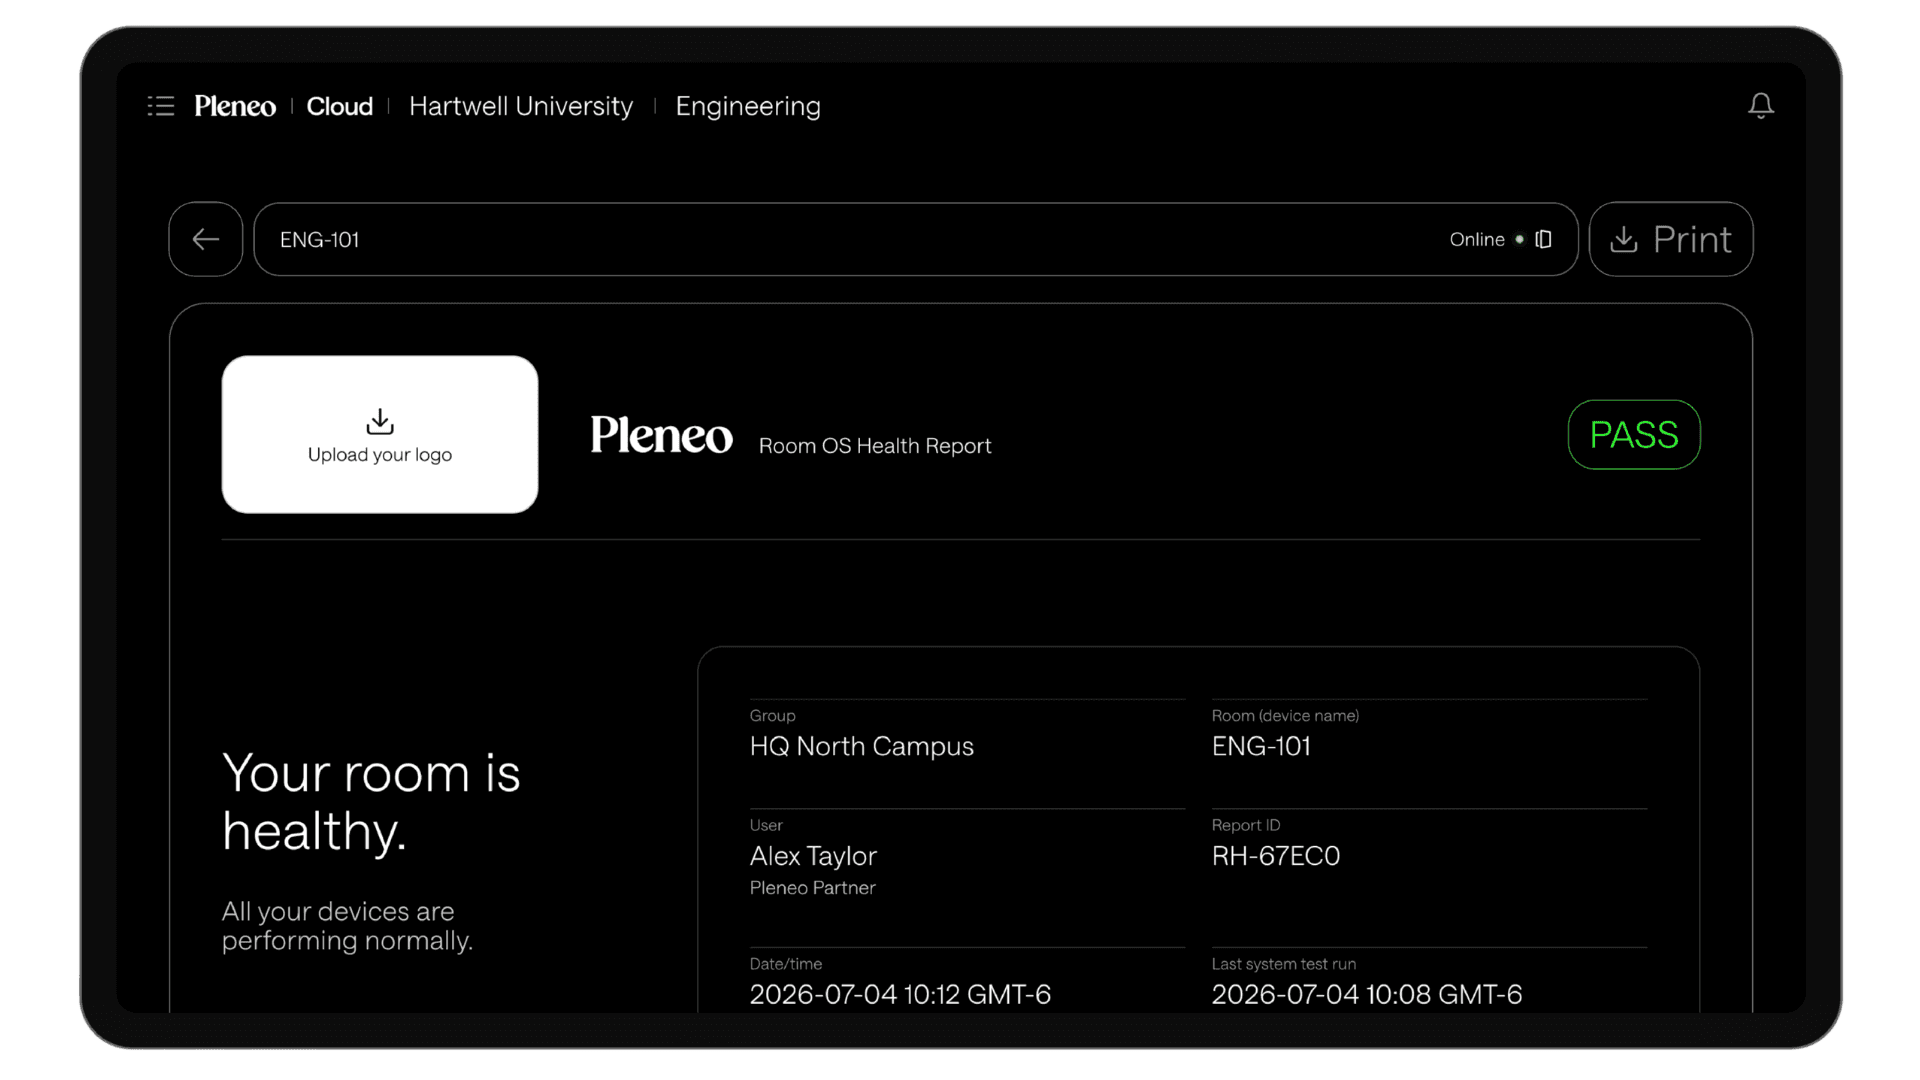
Once all devices are added, select Test Room. AI AutoDeploy validates the system and automatically optimises the room. Once complete, review the commissioning report.
Camera configuration
After setup, configure camera tracking:
With RoomVision, auto-framing and presenter tracking are configured by Room OS automatically, with no extra steps
If your camera doesn't include built-in tracking, Room OS can provide voice-based camera tracking. Select Set up camera and follow the guided setup in Setting up voice-based camera tracking
Setup complete
Your room is now online and ready to use.
In summary
The web interface setup lets you:
Discover devices automatically
Build the system step by step
Run AI AutoDeploy to validate and optimise the room
Review the commissioning report
Enable intelligent camera tracking
Within minutes, the room is configured, tested, optimised, and ready to use.