Deploy
Installation
Edited
Installing RoomDesign Pro Ceiling
Clean in-ceiling installation for the passive speaker, with selectable 8-ohm or 70/100V operation.
Before you begin
Confirm the following before installation:
RoomDesign Pro Ceiling requires an external amplifier
Ceiling access is available
The supplied cutout template or ceiling tile mount accessory is ready
The correct operating mode is identified (8-ohm or 70/100V)

Installation steps
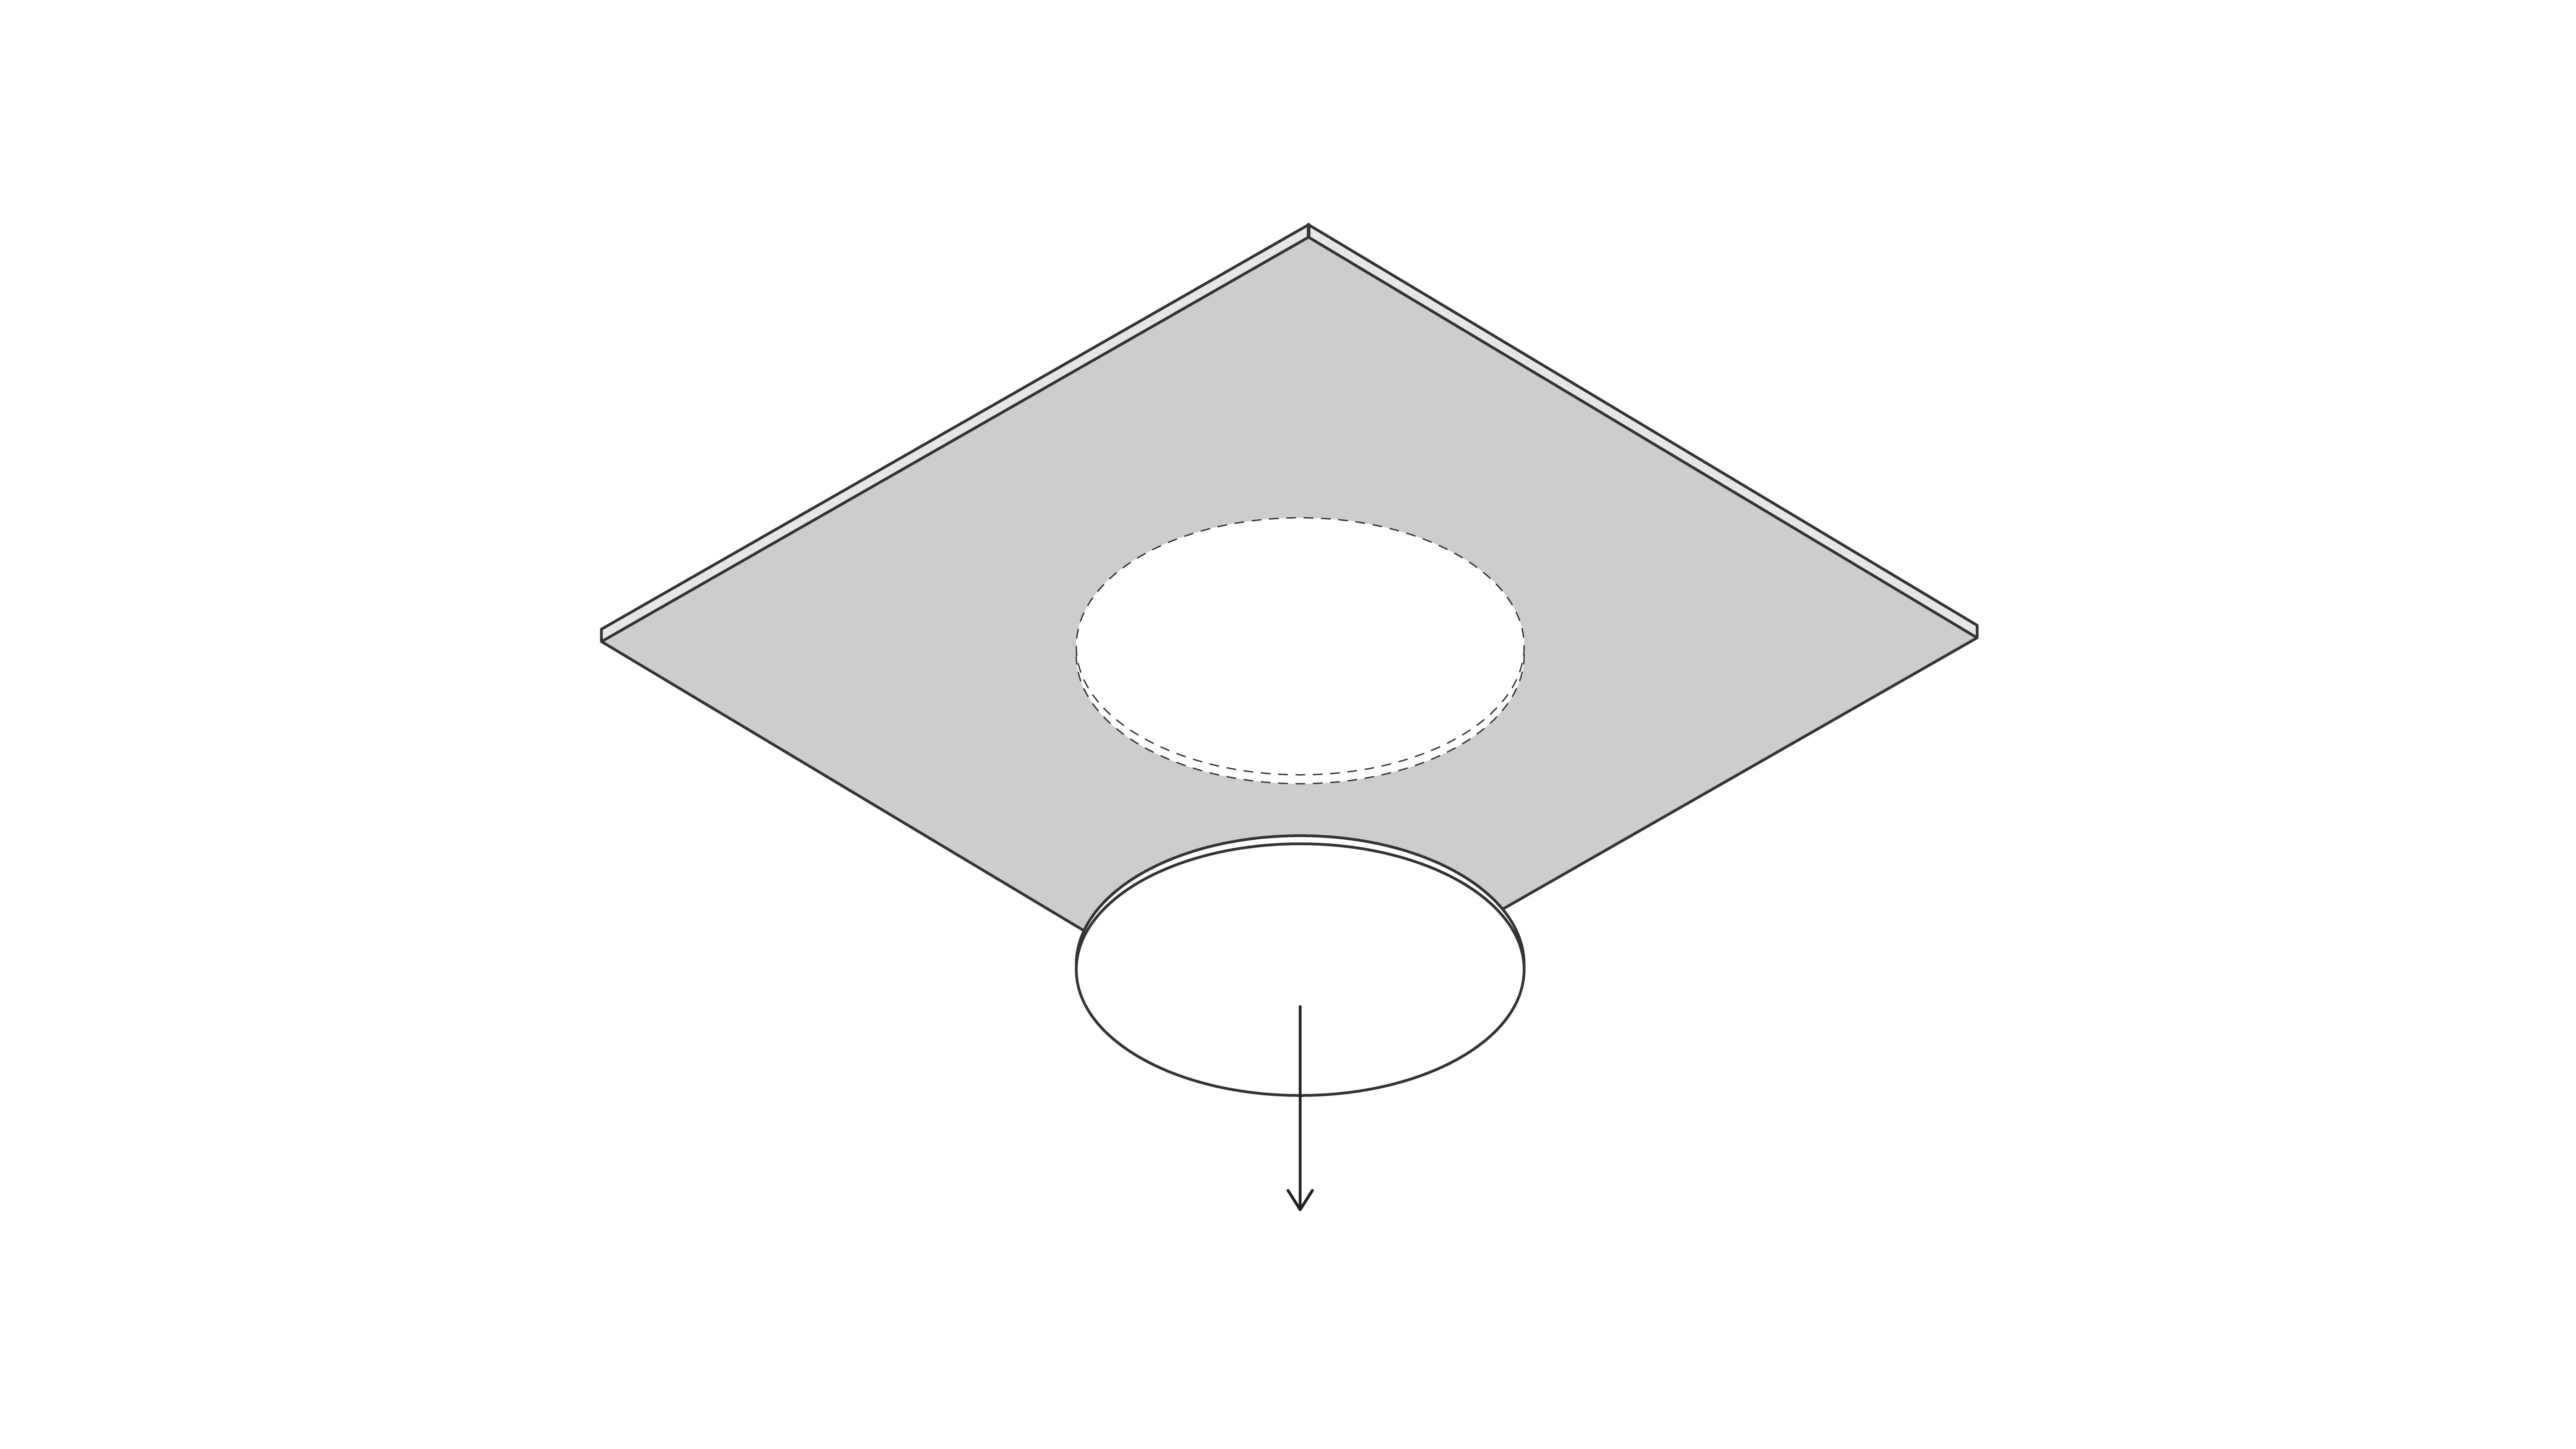
1. Prepare the ceiling
RoomDesign Pro Ceiling is designed for in-ceiling mounting.
Use the supplied cutout template to mark the opening
Cut the ceiling opening to match the template
Tip: for standard 600 × 600 mm ceiling tiles, use the ceiling tile mount accessory. It avoids cutting the tile and keeps installation faster and cleaner.
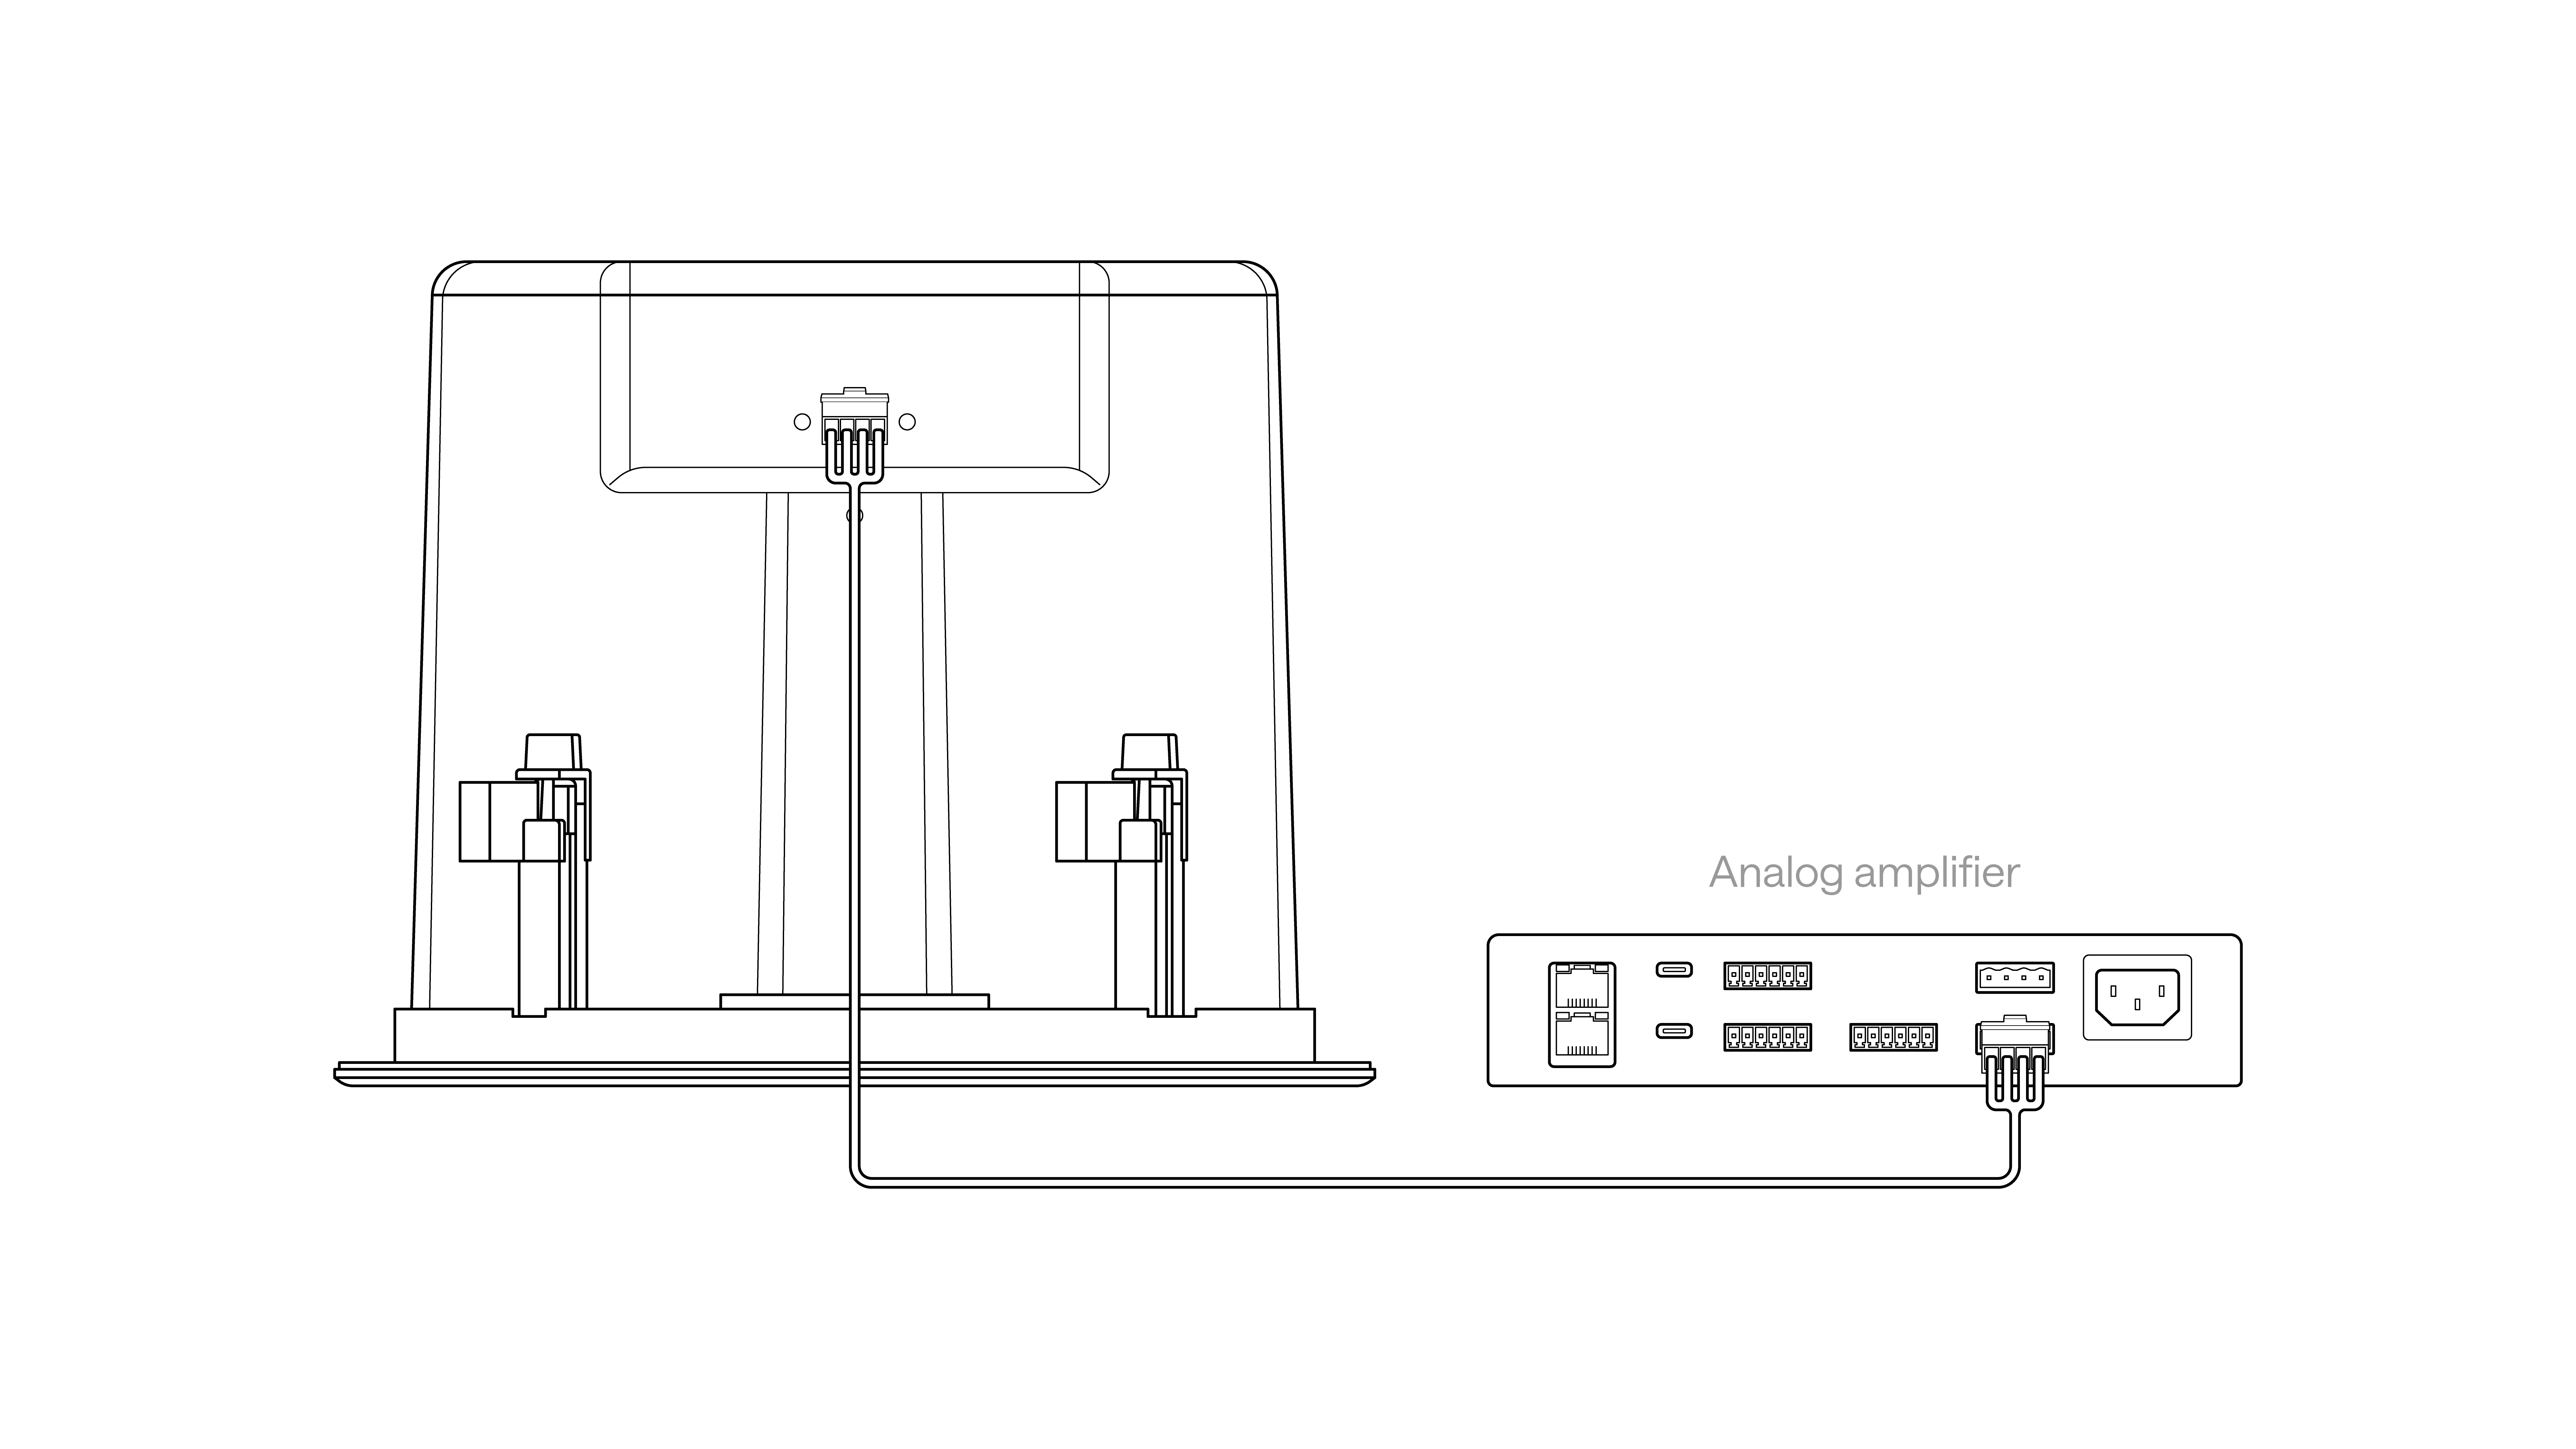
2. Connect the speaker
Connect a speaker cable to the terminal connector on the rear of the speaker
Connect the other end to an external analogue amplifier
Use the front dial to select 8-ohm or 70/100V operation
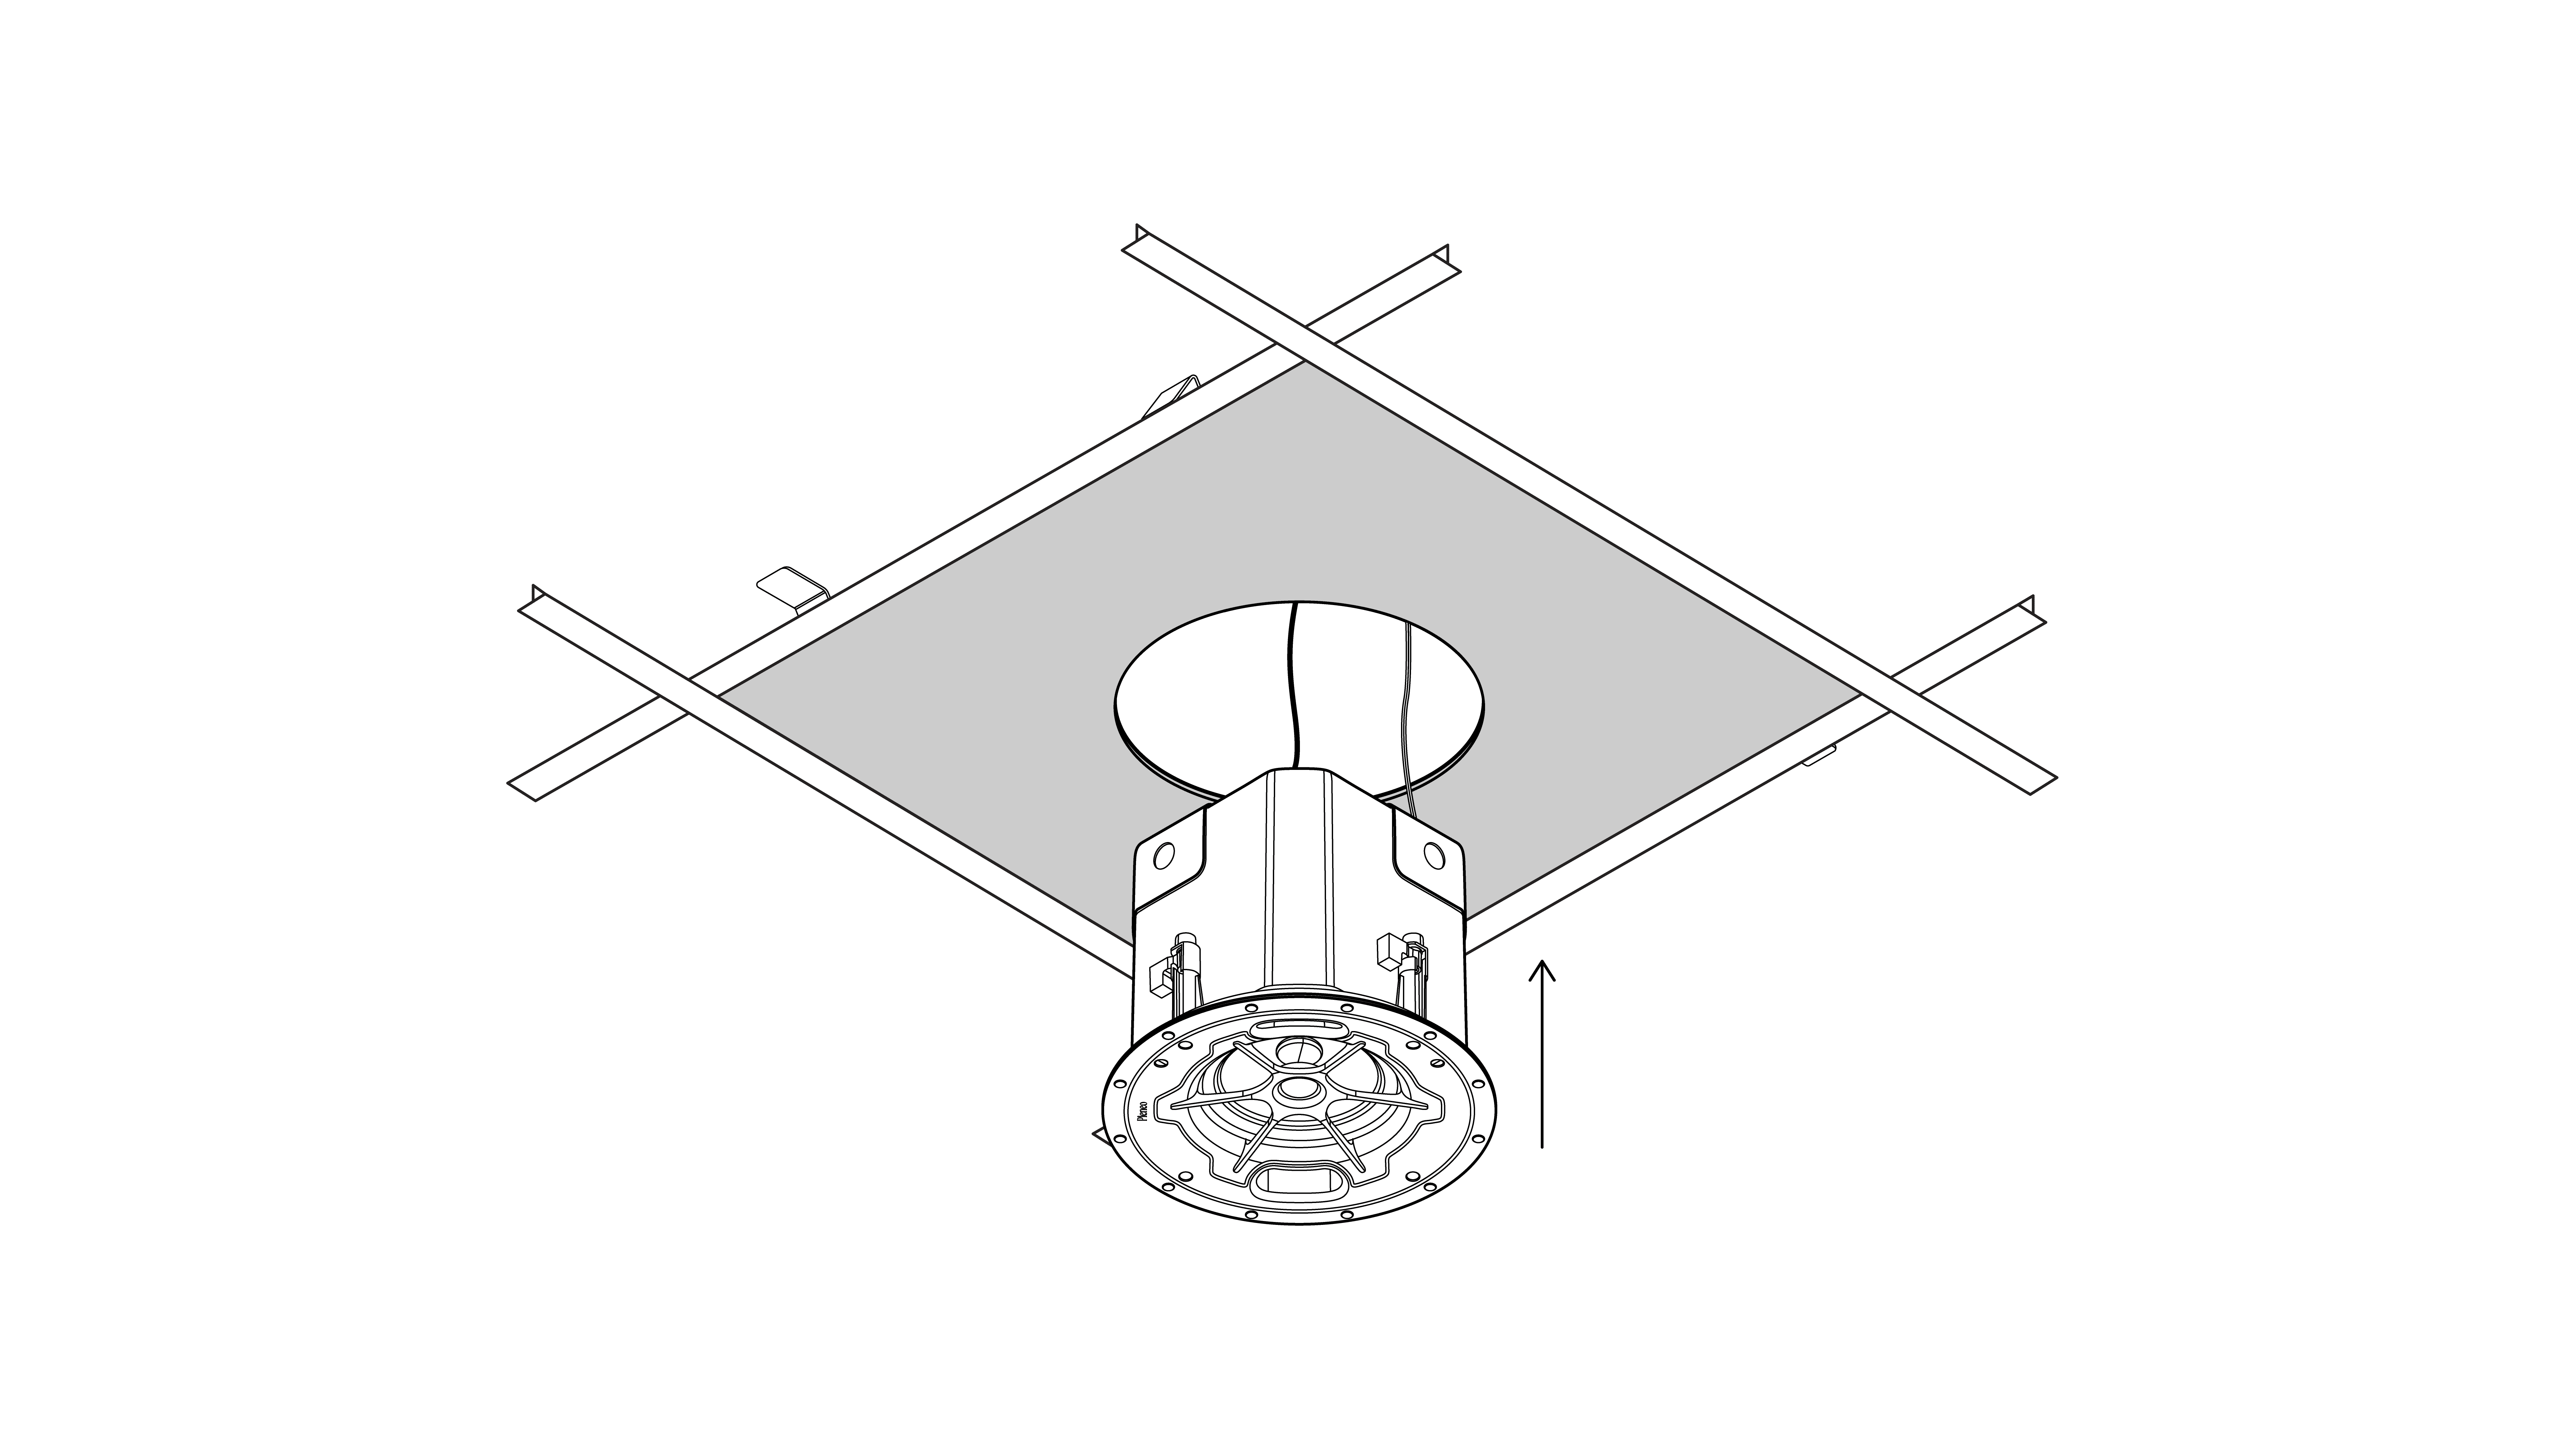
3. Mount the speaker
Insert the speaker back-first into the ceiling opening
Tighten the mounting screws evenly
The integrated clamps hold the speaker firmly and flush against the ceiling.
Installation complete
RoomDesign Pro Ceiling is now installed and ready for system setup.
In summary
Clean in-ceiling mounting
Optional tile mount for faster installs
External amplifier required
Selectable 8-ohm or 70/100V operation