Design
Room Bundle Guide
Edited
Large meeting room bundle
A standard Pleneo Room configuration for larger meeting rooms, with placement guidance for every component.
Overview
This bundle is a standard configuration for a Pleneo Room in larger meeting rooms. The sections below cover placement for the microphone, speakers, camera, and RoomHub.

Before you begin
Create your room in Pleneo Cloud like this.
For a complete placement guide tailored to your space, specify your room in Pleneo Planner.
What's in the bundle
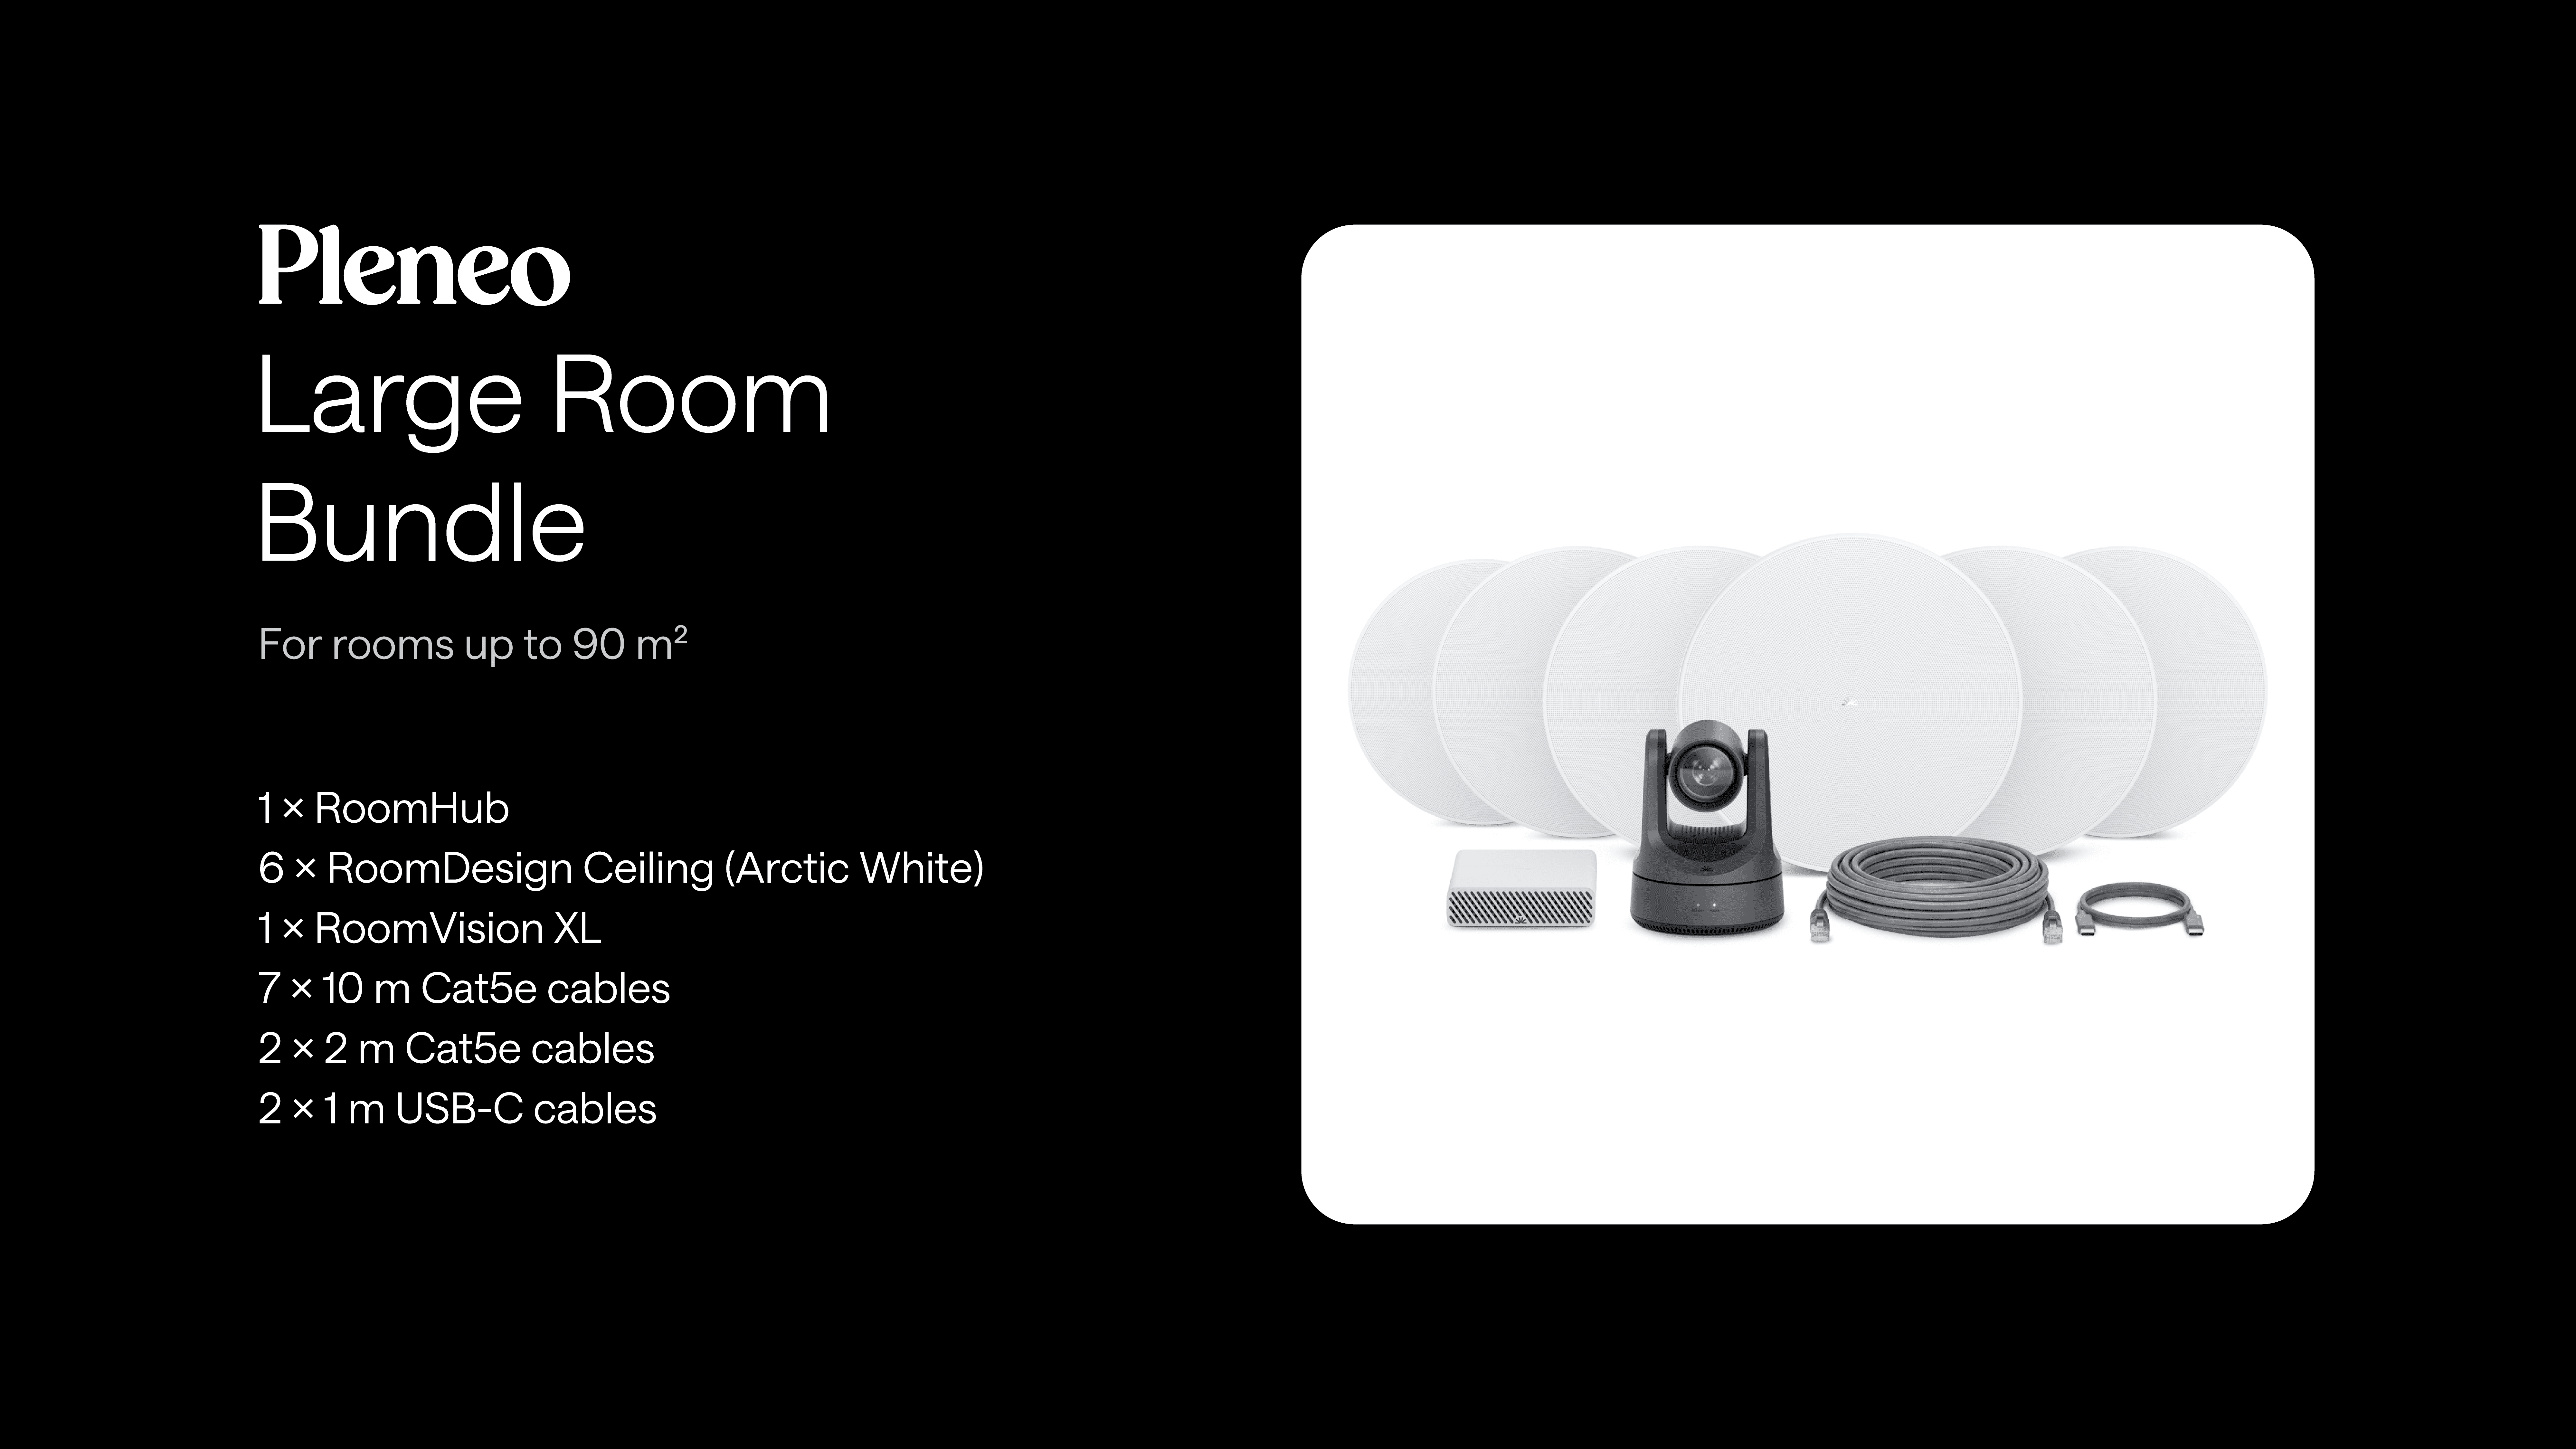
Designed for rooms with 16 to 24 seats and a longer, central meeting table, up to 90 m².
1 × RoomHub
6 × RoomDesign Ceiling speakers
1 × RoomVision XL PTZ camera
7 × 10 m and 2 × 2 m Cat5e cables, plus 2 × 1 m USB-C cables
Each component is selected to scale cleanly with room size while keeping results predictable.
A compatible ceiling microphone is required and is chosen separately to suit your room. See the options below.
Placing the microphone
Compatible microphones include the Sennheiser TCC2 and TCC-M, Shure MXA920 and MXA901, and Yamaha Adecia RM-CG. Any supported microphone will work.
Place the microphone directly above the centre of the table, aligned with the full seating zone rather than the architectural centre of the room. This gives the microphone a clear, consistent view of the conversation across a larger table.
Placement rules
Centre the microphone along the length of the table
Avoid beams, soffits, recessed ceilings, or other obstructions
Tip: If using Sennheiser TCC2 or TCC-M, activate third-party access for control.
Placing the speakers
Use the 6 × RoomDesign Ceiling speakers. See also: Install RoomDesign Ceiling
The goal is smooth, even coverage for every seat in a longer room.
Placement pattern
Install the six speakers in two rows running the length of the table
Space them evenly so sound stays consistent from front to back
Keep the speakers away from the microphone
Placing the camera
Use the RoomVision XL PTZ. See also: Installing RoomVision XL
Place the camera where people appear natural on screen:
Centred between the displays (recommended). Closest to natural eye level, keeps gaze aligned with the screen, and works especially well with dual displays. The best setup is two displays with the camera between them at eye height.
Centred below the display. For single-display rooms, mount at seated eye level.
Centred above the display. Clean, familiar framing that works in nearly all rooms. Use this when between- or below-display placement isn't possible.
Side wall (last option). Practical when front-wall mounting isn't possible and acceptable in smaller rooms. Side mounting introduces angled views, so avoid it where you can.
Placing RoomHub
Use the RoomHub. See also: Installing RoomHub
RoomHub is compact, silent, and PoE-powered, so placement stays flexible even in bigger rooms.
For MTR rooms, position RoomHub near the room compute for clean, simple wiring
For BYOD rooms, mount RoomHub under the table for easy laptop access
Choose the location that makes installation and service easiest.
Deploying the room
You can deploy this room two ways:
On-site: connect the products and set the room up through RoomHub's built-in web interface. Once RoomHub is online, Room OS discovers the connected devices and runs AI AutoDeploy™ to test and tune the room automatically. See Local Deployment.
Automatically with Pleneo Cloud: with Zero Touch Cloud Deployment, the room configures itself with no on-site setup. See Zero Touch Cloud Deployment.
In summary
For consistent results in large meeting rooms:
Place the microphone above the full seating zone
Position the speakers in even rows above the table
Mount the camera where people appear natural on screen
Install RoomHub wherever wiring is simplest