Design
Placement Guide
Edited
Where to place the camera
Natural framing that keeps everyone clearly in view, wherever they sit.
Overview
The goal of camera placement is simple: make people look natural and keep everyone clearly in frame.
Pleneo's RoomVision automatically tracks whoever is speaking and adjusts the framing throughout the meeting. Good placement gives it a clear starting point, so it works consistently from the first minute.

The most important rules
1. Place the camera at eye level
Mount it at seated eye height, about 1.2 m
This creates natural eye contact on the far end
If the camera is too high, people appear to look down; too low, and they appear to look up.

2. Align with the display
Keep the camera as close to the screen as possible
This helps people appear to look at each other
It avoids off-angle conversations
Best camera placement options
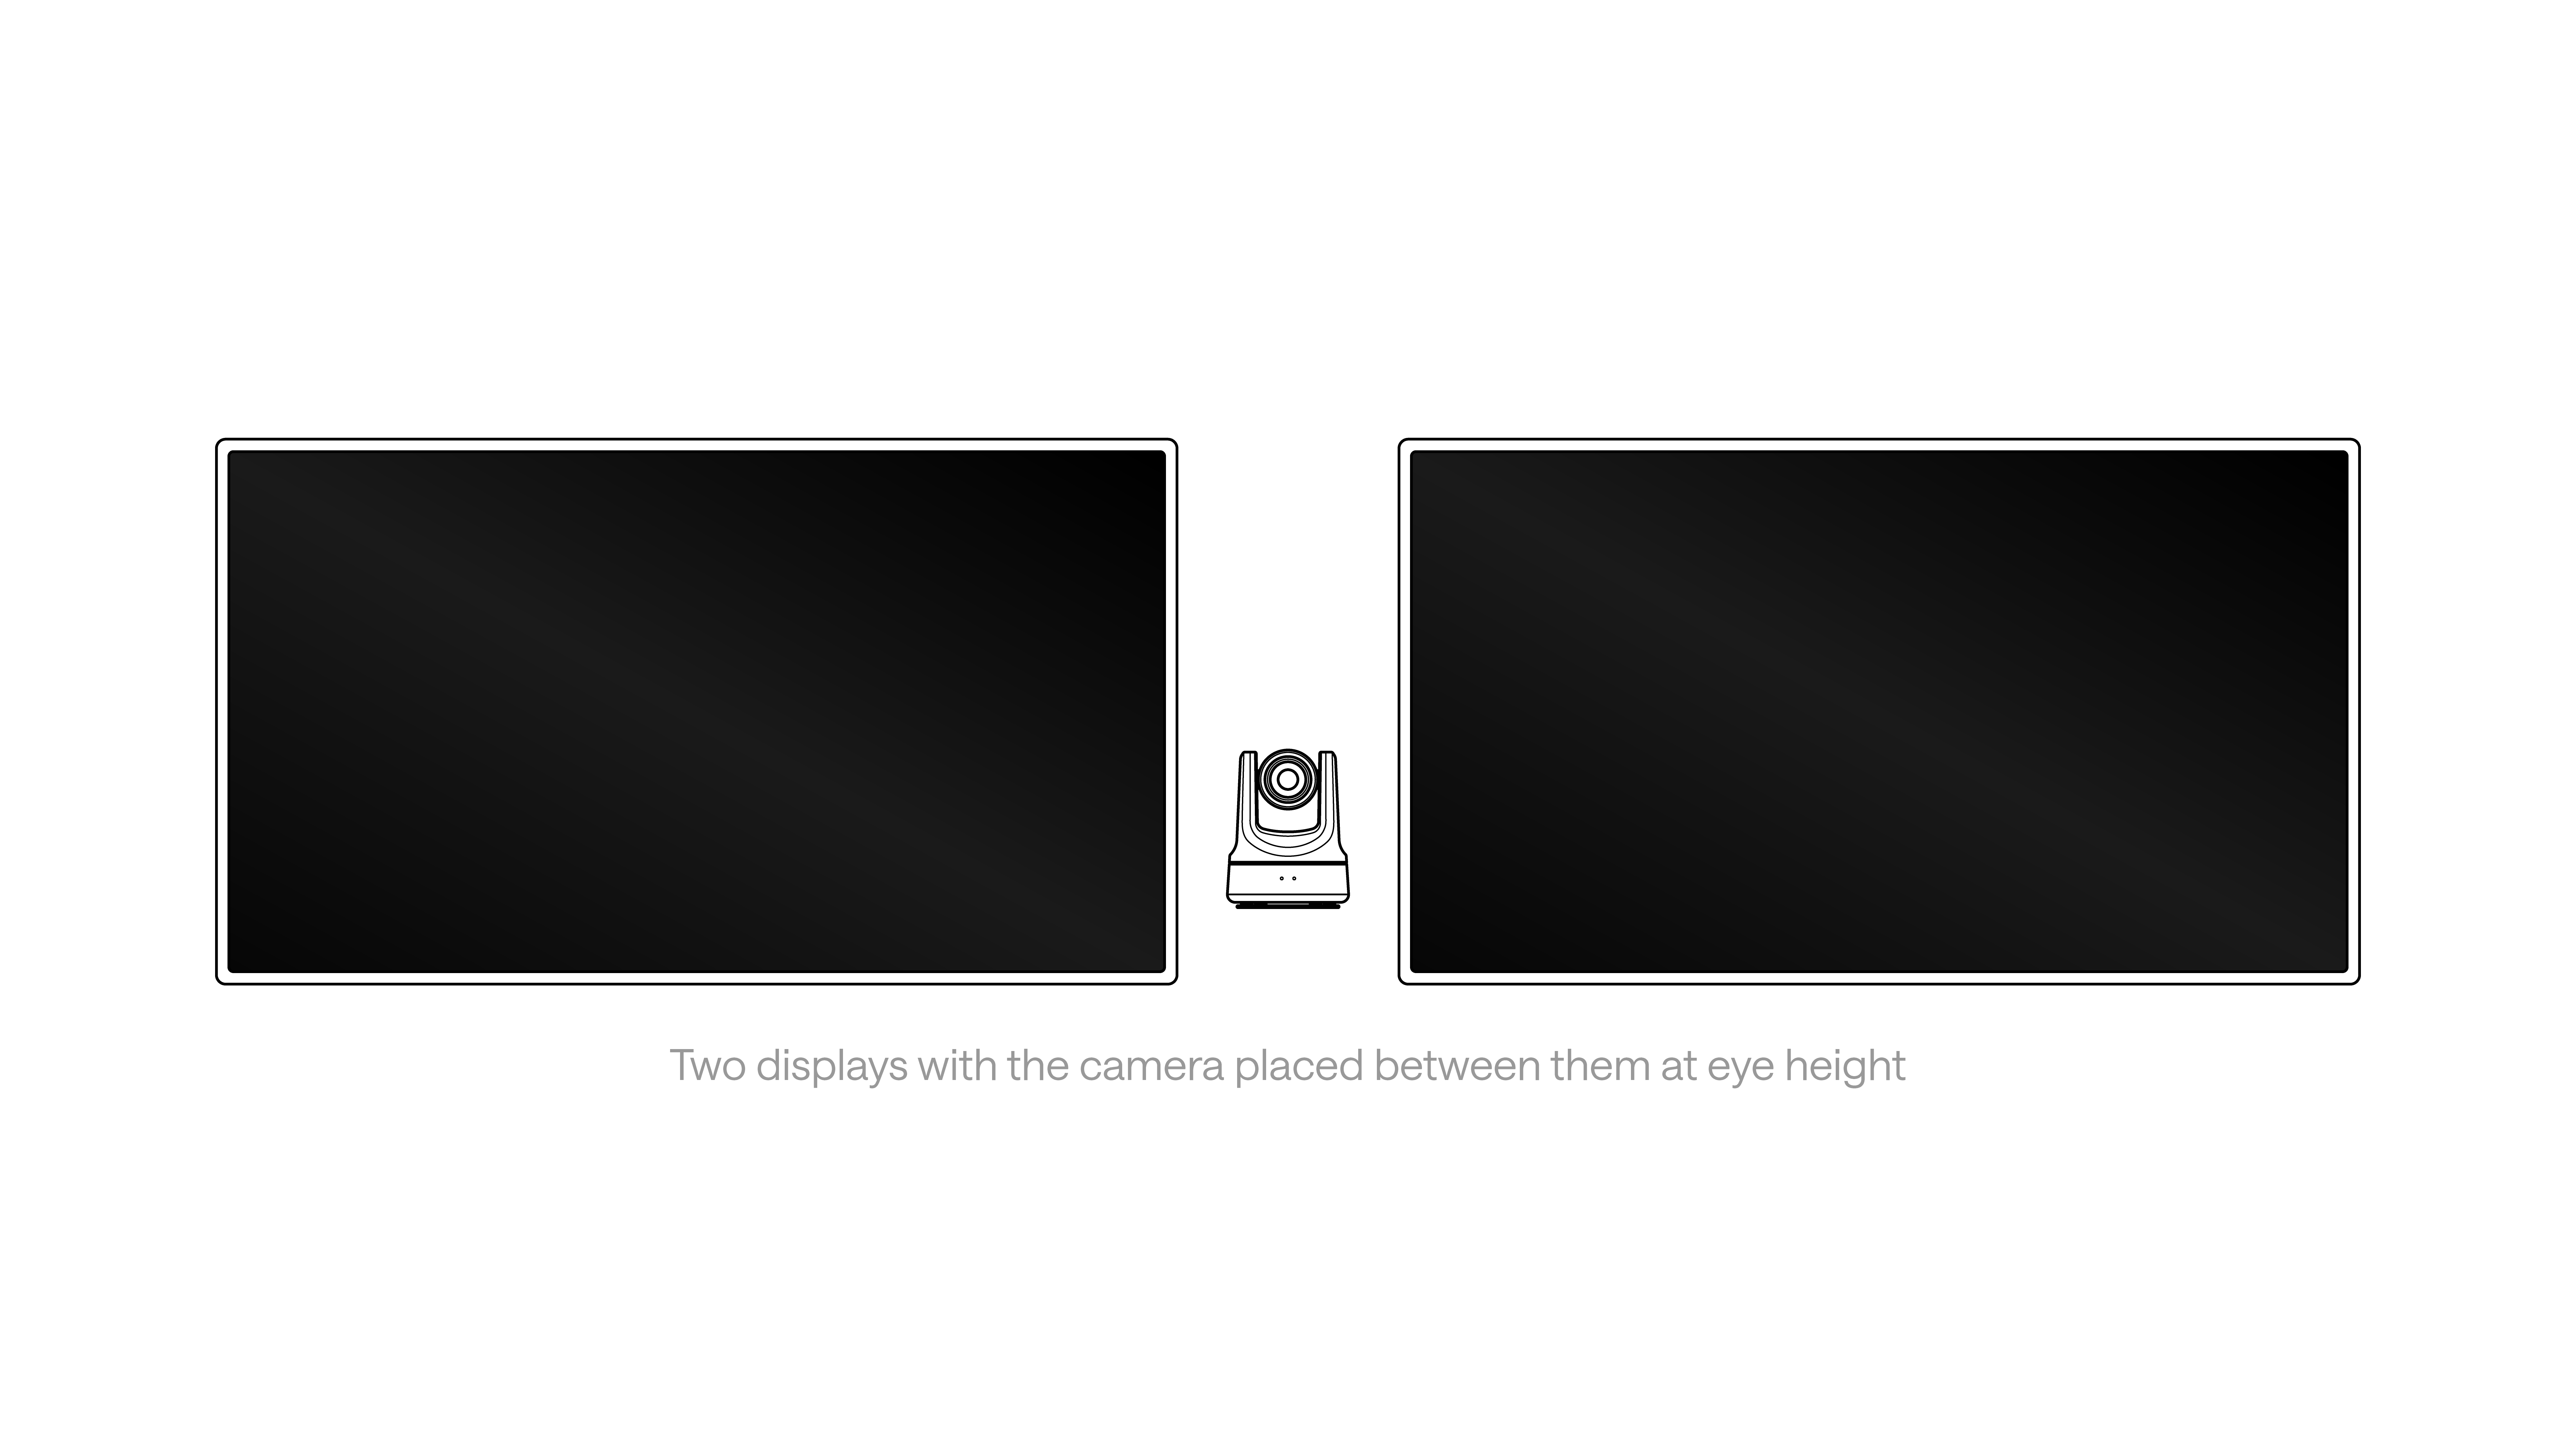
Centred, between the displays (recommended). Closest to natural eye level, keeps gaze aligned with the screen, and works especially well with dual displays. The best setup is two displays with the camera between them at eye height.
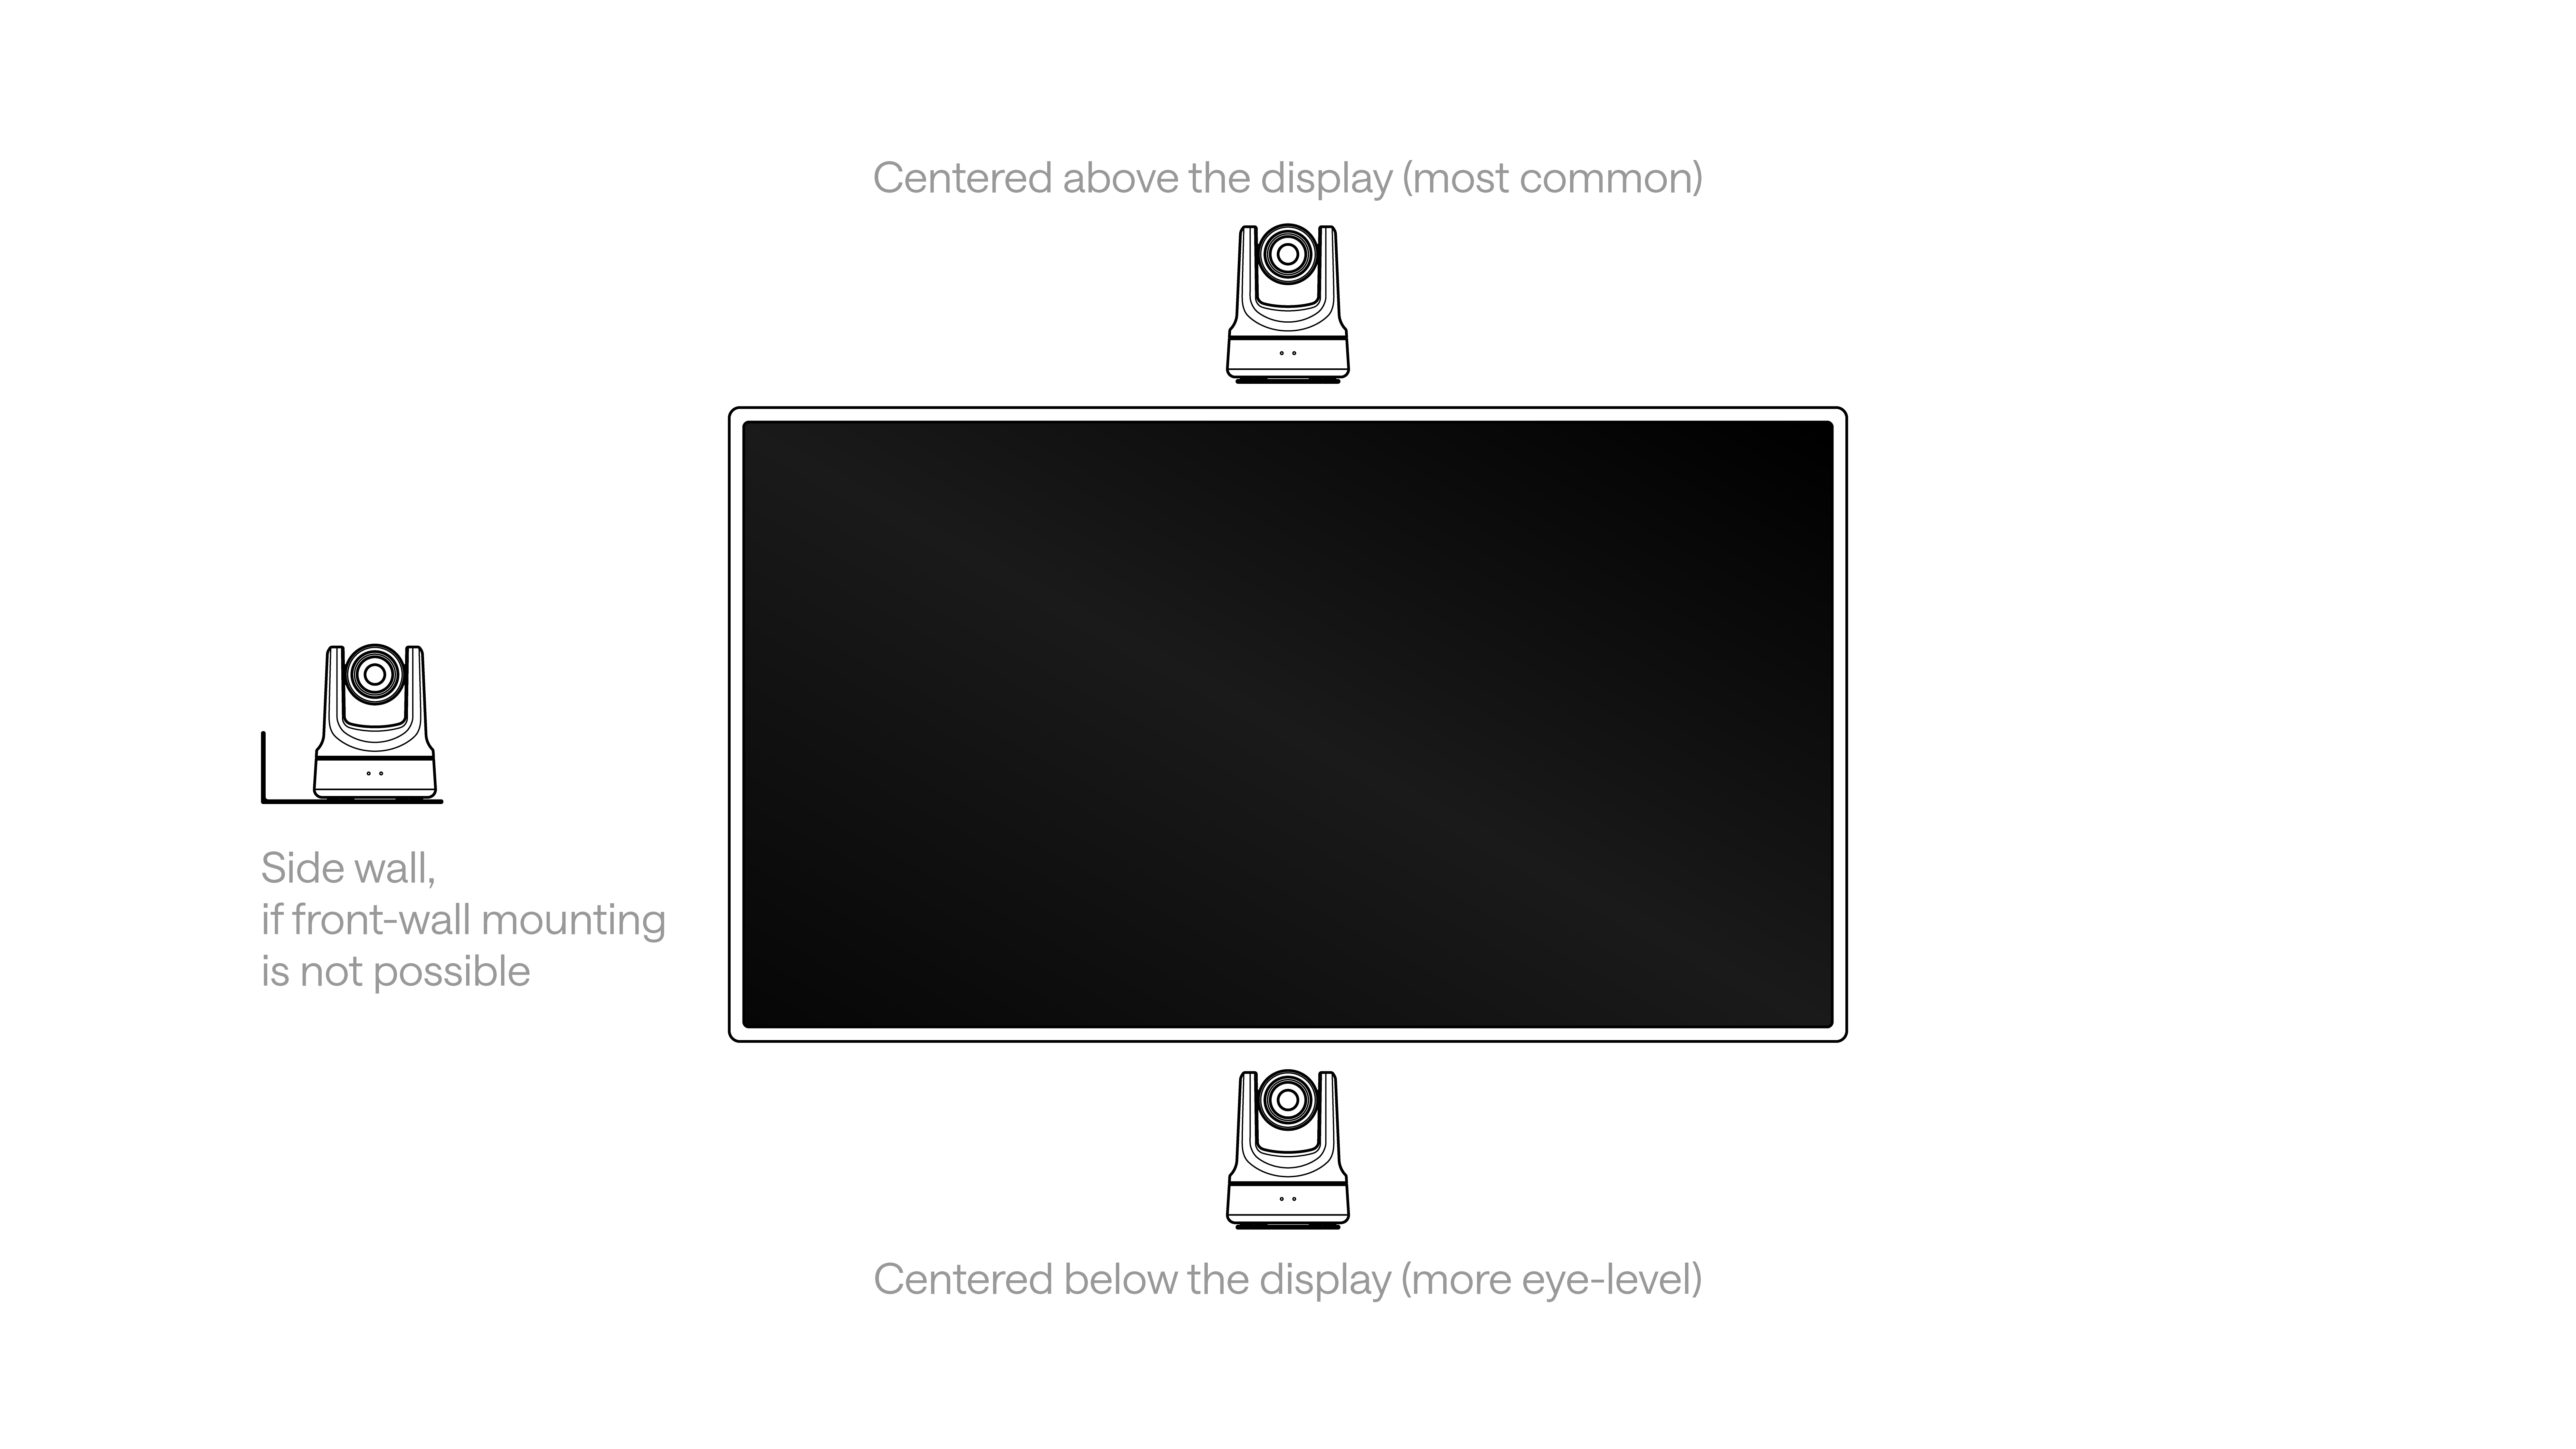
Centred, above the display. Clean, familiar framing that works in nearly all rooms. Use this when below-display placement isn't possible.
Side wall (last option). Practical when front-wall mounting isn't possible and acceptable in smaller rooms. Side mounting introduces angled views, so avoid it where you can.
Choosing the right RoomVision model
RoomVision adapts to how people use the room. Choosing the right model simply makes sure the whole space is covered, from a small huddle room to a large boardroom.
Tip: Use Pleneo Planner to choose the right camera for your room.
In summary
To get the best results:
Place the camera at eye level
Keep it centred and close to the display
Position it between dual displays when you have two screens
Choose the model based on room size